Line-Following Robot Tutorial: Python Code and PID Tuning
A line follower steers by turning in proportion to how far a downward-facing color sensor reads from the edge of a line. Build one with Pybricks Python, from calibration to PID tuning.
A line-following robot reads a color sensor pointed down at the edge of a black line and turns in proportion to how far that reading is from a target value. This tutorial builds one with a SPIKE Prime or MINDSTORMS Robot Inventor hub and Pybricks Python, step by step: the chassis, sensor calibration, on/off control, proportional control, PID control, tuning and the habits that make a follow dependable in FIRST LEGO League and World Robot Olympiad runs.
Table of Contents
- How Line Following Works
- Building the Robot
- Sensor Calibration
- Basic Line Follower (On/Off)
- Proportional Control (Smooth)
- PID Control (Competition-Grade)
- PID Tuning Guide
- Troubleshooting Common Issues
- Competition Tips
How Line Following Works
A color sensor does not see a line the way you do. In reflection mode it shines its own light straight down and measures how much of that light bounces back. Pybricks reports the result as a percentage: 0 means almost nothing came back, 100 means a lot did. Dark surfaces absorb most of the light, so a black line reads low; a white mat reflects most of it, so it reads high.
The useful part happens at the edge. The sensor looks at a small spot rather than a single point, so when that spot sits half on the black line and half on the white mat, it reads somewhere in between. Slide it toward the line and the number drops; slide it toward the mat and the number rises. That in-between reading is your target, and every program in this guide comes down to one question, asked many times a second: am I darker or lighter than the target, and by how much?
That is why a robot with one sensor usually follows one edge of the line rather than its middle. On the edge, the reading tells the robot which way it has drifted. Over the middle of the line, a reading that gets lighter could mean a drift to the left or to the right, and one sensor cannot tell which. The catch is that the robot must stay on its chosen edge: if it swings all the way across a thin line, the white on the far side reads just like the white on its own side, and it steers the wrong way. Following the center reliably usually takes two sensors, one on each side of the line.
Edge Following vs Center Following
| Strategy | Pros | Cons | Best For |
|---|---|---|---|
| Edge Following | More reliable, handles gaps | Slightly slower on curves | Competition missions |
| Center Following | Faster on straight lines | Loses line at gaps | Continuous lines only |
Building the Robot
A line follower is a simple machine: two driven wheels, a caster ball or smooth skid to balance on, a color sensor pointing straight down, and the hub. How those parts fit together decides how well it follows, so it pays to get them right before you write any code.
Mount the two drive motors as a mirror-image pair and support each wheel axle on both sides so the wheels cannot wobble or lean. A wheel that toes in pulls the robot to one side, and your program ends up fighting the chassis instead of following the line. Keep the heavy parts, especially the hub with its battery, low and close to the drive wheels: that keeps traction on the wheels doing the steering and stops the robot tipping on sharp turns. Then measure two numbers you will need in the code: the wheel diameter, and the distance between the two wheels where they touch the ground. Pybricks uses them in DriveBase to turn speeds in millimeters per second and turn rates in degrees per second into motor commands.
The sensor usually sits in front of the drive wheels, on the robot's centerline, and how far forward is a real trade-off. Farther forward, it sees a curve sooner, but every small turn of the robot swings it farther sideways, which makes wobbling more likely. Closer to the wheels, the robot is steadier but reacts later, so it cannot take sharp bends as fast. Whatever you choose, fix the sensor firmly at one height, pointing straight down, and shade it from strong overhead light or sunlight if you can: the sensor brings its own light, but outside light still shifts the readings.
Critical Design Factors
- Sensor Height: LEGO's specification for the SPIKE Prime color sensor gives 16 mm as its optimal reading distance, depending on the surface; start there and keep it fixed
- Sensor Position: Centered between wheels for edge following
- Wheelbase: Narrower = faster turns, wider = more stable
- Weight: Low center of gravity prevents tipping on turns
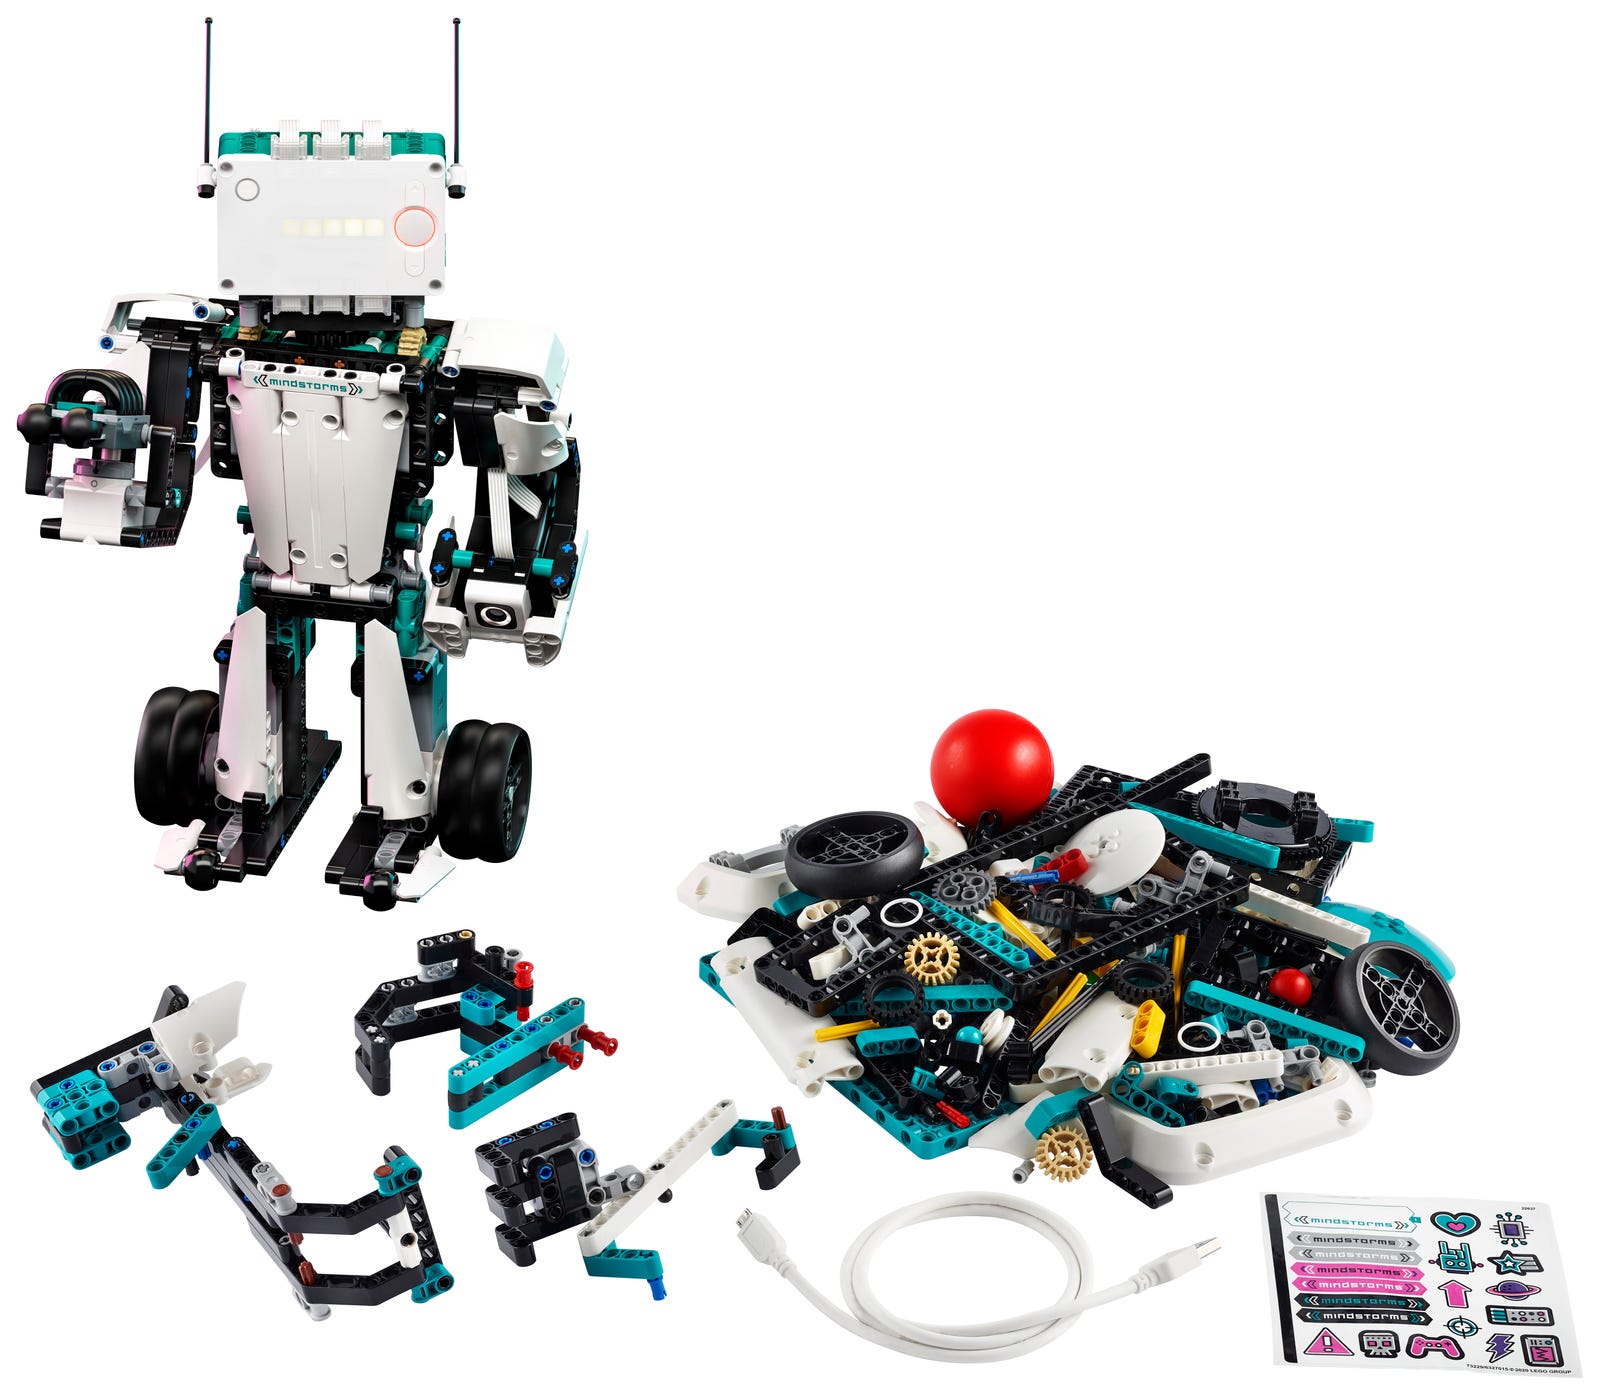
If you would rather not design a chassis from scratch, one of the driving base models in the LEGO Education SPIKE Prime building instructions makes a sound starting point; add a color sensor at the front, pointing down, if the model does not already have one. The MINDSTORMS Robot Inventor hub (51515) works too: in Pybricks, use InventorHub wherever these examples use PrimeHub.
Sensor Calibration
Every mat, line and room is a little different, so measure your target instead of guessing it. All the code in this guide is written for Pybricks, an open-source alternative firmware for the SPIKE Prime and MINDSTORMS Robot Inventor hubs, and uses its documented Python API. You install Pybricks and run programs from the Pybricks Code editor in a web browser, and you can switch back to the official LEGO firmware whenever you like. These programs will not run in the official SPIKE app, whose Python uses different modules. The examples assume the left motor is on port A, the right motor on port B and the color sensor on port C; change the ports to match your robot.
The calibration program below averages a batch of readings over the black line, then over the white mat, and prints the midpoint. That midpoint is what the sensor reads when it sits right on the edge, and it becomes TARGET in every program that follows. It waits for the right button because in Pybricks the center button stops a running program.
from pybricks.hubs import PrimeHub
from pybricks.pupdevices import ColorSensor
from pybricks.parameters import Port, Button
from pybricks.tools import wait

hub = PrimeHub()
sensor = ColorSensor(Port.C)


def wait_for_right_button():
    # Wait for the press and then the release, so one press is one reading.
    while Button.RIGHT not in hub.buttons.pressed():
        wait(10)
    while Button.RIGHT in hub.buttons.pressed():
        wait(10)


def average_reflection(samples=20):
    total = 0
    for _ in range(samples):
        total += sensor.reflection()
        wait(10)
    return total / samples


print("Put the sensor over the BLACK line, then press the right button.")
wait_for_right_button()
black = average_reflection()
hub.speaker.beep()
print("Black:", black)

print("Put the sensor over the WHITE mat, then press the right button.")
wait_for_right_button()
white = average_reflection()
hub.speaker.beep()
print("White:", white)

target = (black + white) / 2
print("TARGET (the edge):", target)
Check that the black and white readings are far apart. If they are close together, the sensor is probably mounted too high or at an angle, or the line is not dark enough. Run the calibration again whenever the mat, the lighting or the sensor mount changes.
Basic Line Follower (On/Off Control)
The simplest follower has only two moves. If the sensor reads darker than the target, it has drifted onto the line, so steer away from it; if it reads lighter, it has drifted onto the mat, so steer back. This is called on/off or bang-bang control, because the steering is always all the way one way or all the way the other. In Pybricks, a positive turn rate turns the robot right and a negative one turns it left, so with the signs used here the robot rides the left edge of the line, with the black on its right. If it turns away from the line instead of toward it, swap the two turn directions. If it drives backward, move Direction.COUNTERCLOCKWISE to the other motor.
from pybricks.pupdevices import Motor, ColorSensor
from pybricks.parameters import Port, Direction
from pybricks.robotics import DriveBase
from pybricks.tools import wait

left_motor = Motor(Port.A, Direction.COUNTERCLOCKWISE)
right_motor = Motor(Port.B)
sensor = ColorSensor(Port.C)

# Use your own measurements, in millimeters.
robot = DriveBase(left_motor, right_motor, wheel_diameter=56, axle_track=112)

TARGET = 50        # the midpoint from the calibration program
DRIVE_SPEED = 100  # mm/s
TURN_RATE = 60     # deg/s, the same size of correction every time

while True:
    if sensor.reflection() < TARGET:
        # Darker than the edge: on the line, so steer left, off it.
        robot.drive(DRIVE_SPEED, -TURN_RATE)
    else:
        # Lighter than the edge: on the mat, so steer right, back to it.
        robot.drive(DRIVE_SPEED, TURN_RATE)
    wait(10)
Result: Robot zigzags along line. Works but slow and jerky.
Proportional Control (Smooth)
The on/off follower treats a tiny drift and a big one exactly the same. Proportional control steers in proportion to the error, the difference between what the sensor reads and the target. A small error gets a gentle correction, a big one gets a sharp correction, and an error of zero means drive straight.
The gain, KP, sets how hard the robot reacts. Because the reading is a percentage and drive() takes a turn rate in degrees per second, a KP of 1.2 means every point of error adds 1.2 degrees per second of turn: 10 points off target gives 12 degrees per second. That is the same starting point the Pybricks EV3 MicroPython documentation uses in its own line-following example, also at 100 mm/s. If the robot wobbles from side to side, lower KP; if it runs wide and loses the line on curves, raise it. To follow the right edge of the line instead of the left, flip the subtraction so the error is TARGET - sensor.reflection().
from pybricks.pupdevices import Motor, ColorSensor
from pybricks.parameters import Port, Direction
from pybricks.robotics import DriveBase
from pybricks.tools import wait

left_motor = Motor(Port.A, Direction.COUNTERCLOCKWISE)
right_motor = Motor(Port.B)
sensor = ColorSensor(Port.C)
robot = DriveBase(left_motor, right_motor, wheel_diameter=56, axle_track=112)

TARGET = 50        # the midpoint from the calibration program
DRIVE_SPEED = 100  # mm/s
KP = 1.2           # deg/s of turn for each point of error: tune this

while True:
    error = sensor.reflection() - TARGET
    turn_rate = KP * error
    robot.drive(DRIVE_SPEED, turn_rate)
    wait(10)
Result: Much smoother! Robot makes gentle corrections instead of sharp turns.
PID Control (Competition-Grade)
Proportional control only reacts to where the robot is right now. PID adds two more terms, one that remembers the past and one that watches the trend, and the turn rate is the sum of all three:
- Proportional (KP), the present: how far is the sensor from the edge at this moment? Steer back in proportion to that.
- Integral (KI), the past: the program keeps a running total of the error. If the robot keeps sitting slightly to one side, as it tends to on a long, gentle curve, the total grows and adds steering until the drift is gone. On a long curve the total can grow so large that the robot overshoots when the curve ends (this is called windup), so the code caps it.
- Derivative (KD), the trend: how much did the error change since the last reading? When the error is growing fast, as the robot enters a bend, this term adds steering early. When the error is shrinking fast, it eases off before the robot overshoots, which damps the wobble.
This version follows the line for a set distance and then stops, which is how you would use it in a competition run. The gains are starting points to tune, not measured values. The loop also waits 10 milliseconds every time on purpose: the integral and the derivative are both counted per loop, so if you change the loop timing, retune KI and KD.
from pybricks.pupdevices import Motor, ColorSensor
from pybricks.parameters import Port, Direction
from pybricks.robotics import DriveBase
from pybricks.tools import wait

left_motor = Motor(Port.A, Direction.COUNTERCLOCKWISE)
right_motor = Motor(Port.B)
sensor = ColorSensor(Port.C)
robot = DriveBase(left_motor, right_motor, wheel_diameter=56, axle_track=112)

# Starting points to tune, not measured values.
TARGET = 50             # the midpoint from the calibration program
DRIVE_SPEED = 150       # mm/s
KP = 1.5                # deg/s of turn per point of error
KI = 0.01               # deg/s per point of accumulated error
KD = 0.5                # deg/s per point of change since the last loop
INTEGRAL_LIMIT = 1000   # cap on the running total, to prevent windup
FOLLOW_DISTANCE = 1000  # mm to follow before stopping

integral = 0
last_error = sensor.reflection() - TARGET
robot.reset()

while robot.distance() < FOLLOW_DISTANCE:
    error = sensor.reflection() - TARGET

    integral += error
    integral = max(-INTEGRAL_LIMIT, min(INTEGRAL_LIMIT, integral))

    derivative = error - last_error
    last_error = error

    turn_rate = KP * error + KI * integral + KD * derivative
    robot.drive(DRIVE_SPEED, turn_rate)
    wait(10)

robot.stop()
PID Tuning Guide
Tune on the real mat, at the speed you plan to run, and change one gain at a time. Pick a stretch of line with both a straight and a curve, since a robot that looks perfect on a straight can still fall off the first bend. Run it a few times after each change and note what you saw before you touch anything else.
Treat the numbers in this section as rough starting ranges, not recipes: the right values depend on your robot's build, its speed, the line and the loop timing. In the PID program, KD multiplies the change between two readings only 10 milliseconds apart, which is usually a small number, so if raising KD seems to do nothing, keep raising it in bigger steps before you decide it does not help. Only speed up once the robot is steady, and expect to retune a little each time you do.
The Tuning Process
- Step 1: Set KI and KD to 0. Increase KP until oscillation starts
- Step 2: Reduce KP to about 0.6 times the value where oscillation started, the proportion the classic Ziegler-Nichols tuning rule uses for PID
- Step 3: Add KD a little at a time until the wobble left over after curves settles
- Step 4: Add a tiny KI to remove a steady drift to one side (this guide's PID program starts at 0.01)
- Step 5: Test at different speeds and adjust
Starting Points by Speed
These are the values from this guide's own programs, offered as places to begin, not as measurements. Speeds are in millimeters per second, the unit DriveBase.drive() uses.
| Drive Speed | What Changes | Where to Start |
|---|---|---|
| Slow, around 100 mm/s | There is time to correct, and P alone often handles gentle curves | The proportional program: KP 1.2, with KI and KD at 0 |
| Moderate, around 150 mm/s | Wobble and overshoot after curves start to show | The PID program: KP 1.5, KI 0.01, KD 0.5, then raise KD until the wobble settles |
| Faster than that | Errors grow faster, and the robot can run wide on sharp curves before it reacts | Retune all three from your moderate-speed values: KD tends to matter more, KI is often best kept small or at 0, and slowing down for sharp curves can help more than any gain change |
Troubleshooting Common Issues
Problem: Robot Overshoots Turns
Solution: Increase KD (derivative term) to predict and slow down before overshoot
Problem: Robot Oscillates/Wobbles
Solution: Reduce KP, or increase KD for dampening
Problem: Robot Drifts Off Over Time
Solution: Increase KI (integral term) to correct accumulated error
Problem: Robot Loses Line at Gaps
Solution: Add "keep last direction" logic when sensor reads white
Problem: Different Performance on Curves vs Straights
Solution: Use adaptive PID with lower gains on sharp curves
Competition Tips
- Practice on Different Line Types: Thick/thin, black/white, tape/printed
- Test Battery Levels: Performance changes as the battery drains, so test at the charge level you will compete with
-
Use Position Control: Pybricks'
DriveBase.straight()andDriveBase.turn()(orMotor.run_angle()for a single motor) move a set distance or angle, which is more consistent than driving at a speed for a set time - Have Backup Gains: Test multiple PID sets and switch based on course
- Smooth Acceleration: Ramp up speed to prevent wheel slip at start
- Lighting Calibration: Recalibrate on competition day (lighting differs)
A note before you shop: both kits this guide is written for are retired. LEGO Education stopped selling SPIKE Prime on June 30, 2026, and LEGO retired MINDSTORMS Robot Inventor at the end of 2022, so you are buying remaining stock or secondhand. Pybricks supports both hubs, so the code in this guide works on either one (on Robot Inventor, use InventorHub in place of PrimeHub).
Watch Your Robot While You Tune
You do not need a video course to tune a line follower, but you do need to see what it is really doing, because a wobble that lasts a fraction of a second is easy to miss. Film a few test runs with a phone, in slow motion if it has it, from above or from behind the robot. You will see whether it overshoots after curves, wobbles on straights or slowly drifts off the edge, and each of those points to a different fix in the troubleshooting list above. For numbers, add a print() of the error and the turn rate inside the loop and watch them in the Pybricks Code terminal while the robot runs. Print only every tenth time around the loop or so; that keeps the terminal readable and keeps printing from slowing the loop down.
Lessons From the Competition Table
Line following earns points by being dependable, not flashy. A few habits make the difference in a competition run:
- Treat lines as landmarks. World Robot Olympiad RoboMission fields often include black lines for robots to follow between mission areas, so following lines and counting intersections are core skills there. In FIRST LEGO League Challenge, teams more often use a line for a short, precise approach to a mission model or to line the robot up. Either way, the follow is one part of a run, not the whole run.
- Know how every follow ends. Stop after a measured distance, as the PID program does, or when a second sensor spots a crossing line. The robot should leave the line in the same place every time, because the next move depends on it.
- Use a second sensor if you have a spare port. One sensor follows the edge while the other watches for intersections and end markers, so the robot always knows where it is along the line.
- Choose consistency over speed. A follower that finishes the same way on every run is worth more than a faster one that misses now and then. Speed up only once it is reliable.
- Keep a tuning log. Write down the gains, speed, battery level and mat for every change. It stops you repeating experiments, and it gives your team real evidence of testing and improvement to talk about in robot design judging.
Keep Going
- New to Pybricks? Start with 10 Beginner Python Projects for LEGO MINDSTORMS and SPIKE.
- For motor speed, acceleration and holding control, see Advanced Motor Control Techniques in MINDSTORMS.
- Deciding between Pybricks and the official SPIKE app for competition? Read Pybricks vs LEGO Firmware.
Use Our Tools to Go Further
Get more insights about the sets mentioned in this article with our free LEGO tools