BrickLink Studio Tutorial: Digital LEGO Design for Beginners
Supporting Free Content
When you purchase through our links, we earn a small commission at no extra cost to you. As an Amazon Associate and eBay Partner, this helps us keep bringing you expert LEGO® reviews and guides. Thank you for your support!
BrickLink Studio is a powerful, free software that allows LEGO enthusiasts of all skill levels to design and build virtual LEGO models on their computer. It's the ultimate digital workshop for creating custom LEGO MOCs (My Own Creations), generating building instructions, rendering photo-realistic images, and even integrating directly with the BrickLink marketplace to purchase the bricks for your physical masterpiece. This tutorial will guide you through the essentials of BrickLink Studio, transforming you from a beginner into a confident digital LEGO designer, ready to bring your wildest brick-built dreams to life.

What is BrickLink Studio and Why Should You Use It?
BrickLink Studio, often simply called Studio, is a comprehensive LEGO CAD (Computer-Aided Design) program developed by BrickLink, which is now part of the LEGO Group. It provides an intuitive platform where you can access an enormous digital library of virtually every LEGO part ever made, in every color, and use them to construct models entirely on your screen. Imagine having an infinite supply of bricks at your fingertips – that's the power of Studio!
So, why should you dive into the world of digital LEGO design with Studio? The benefits are immense:
- Unlimited Bricks: Never run out of a specific piece or color. Experiment freely without the constraints of your physical collection.
- Virtual Prototyping: Test out design ideas, structural integrity, and color schemes before committing to a physical build. This saves time, money, and frustration.
- MOC Design & Instructions: Design complex MOCs from scratch. Studio can automatically generate professional-looking building instructions, complete with step-by-step visuals, which is invaluable for sharing your creations or rebuilding them later.
- Photo-Realistic Renders: Create stunning, high-quality images of your digital models using Studio's integrated rendering engine. Show off your designs to the world with professional flair.
- Seamless BrickLink Integration: Once your design is complete, Studio can instantly generate a "wanted list" on BrickLink, allowing you to easily find and purchase all the necessary physical bricks from sellers worldwide. This makes the transition from digital dream to tangible reality incredibly smooth.
- Community & Sharing: Share your Studio files with a global community of builders, get feedback, and inspire others with your creativity.
Whether you're looking to design a custom expansion for a set like the Modular LEGO Store, create unique display pieces inspired by the Marvel Studios Iron Man mosaic, or even conceptualize new vehicles for your LEGO City layout, Studio is the perfect tool.
Getting Started: Downloading and Installing BrickLink Studio
Starting your digital LEGO journey is straightforward. BrickLink Studio is completely free to download and use.
- Visit the Official Website: Navigate to the official BrickLink Studio website (a quick search for "BrickLink Studio" will get you there).
- Download the Installer: Look for the download button, usually prominently displayed for Windows and macOS operating systems. Click the appropriate version for your computer.
- Run the Installer: Once the download is complete, locate the installer file (e.g., "Studio2.0Installer.exe" on Windows or "Studio2.0Installer.dmg" on macOS) and double-click it.
- Follow On-Screen Prompts: The installation wizard will guide you through the process. Accept the terms and conditions, choose your installation location (the default is usually fine), and complete the installation.
- Launch Studio: After installation, you'll find a new BrickLink Studio icon on your desktop or in your applications folder. Double-click it to launch the program for the first time.
Quick Fact: BrickLink Studio is regularly updated with new parts, colors, and features, ensuring you always have access to the latest elements released by LEGO.
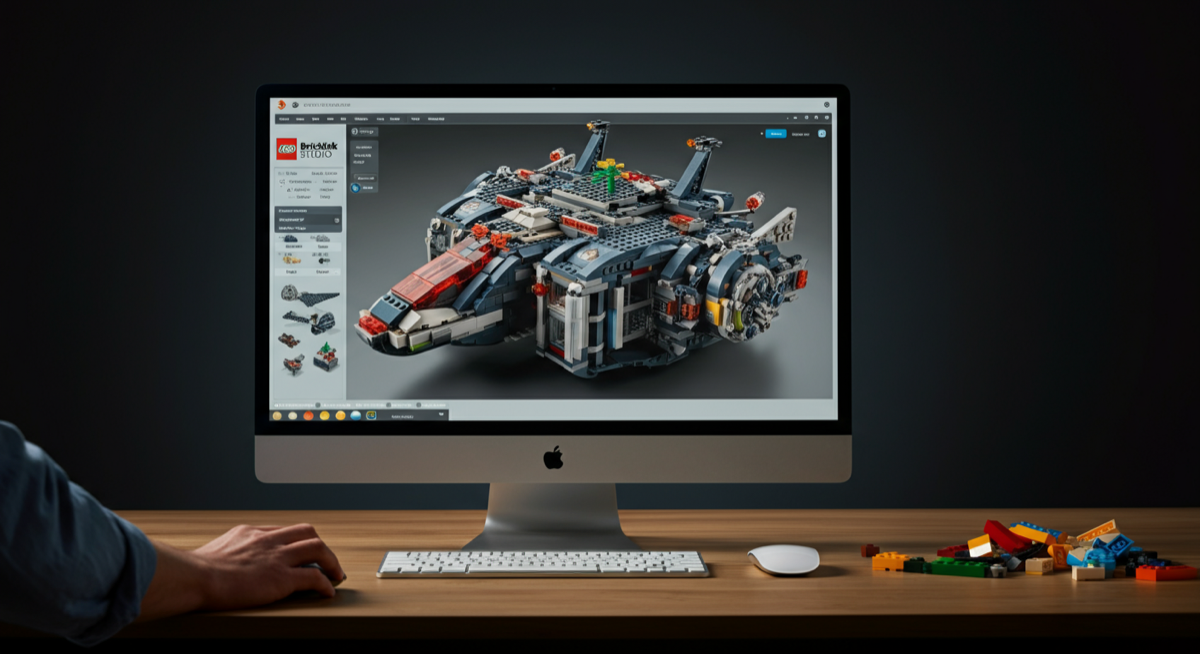
The Studio Interface: Navigating Your Digital Workspace
Upon launching Studio, you'll be greeted by its intuitive interface. It might seem a bit overwhelming at first, but with a quick overview, you'll be navigating like a pro in no time.
Key Interface Elements:
- Part Palette (Left Panel): This is your brick library. It's organized by categories (e.g., Bricks, Plates, Technic, Minifigure Parts) and can be searched by part ID, name, or keywords. You can also filter by color. The sheer variety here is astonishing, from basic building blocks found in the Bonus Lego Basic Town to specialized elements.
- Building Area (Center): This is your 3D canvas where you'll assemble your models. You can rotate, zoom, and pan around your build to view it from every angle.
- Toolbar (Top): Contains essential tools like Select, Move, Rotate, Clone, Delete, Color Picker, and various camera controls.
- Properties Panel (Right Panel): Displays information about selected parts, such as their color, orientation, and part ID.
- Instructions Panel (Bottom): Used for creating and editing step-by-step building instructions for your MOCs.
Basic Camera Controls:
Mastering camera controls is crucial for efficient building:
- Rotate View: Click and drag the right mouse button (or two fingers on a trackpad).
- Pan View: Click and drag the middle mouse button (or Shift + right mouse button / two fingers on a trackpad).
- Zoom In/Out: Scroll the mouse wheel up/down (or pinch on a trackpad).
- Zoom to Selection: Press 'Z' to zoom in on selected parts.
Practice these controls by simply opening a new project and moving around the empty building area. You'll quickly get the hang of it!
Building Your First Digital LEGO Model
Now for the fun part – let's build something! We'll start with the basics of placing and connecting bricks.
Step-by-Step Basic Building:
- Start a New Project: Go to File > New to open a fresh building area.
- Select a Brick: In the Part Palette (left panel), type "brick 2x4" into the search bar. Click on the standard 2x4 brick to select it.
- Place the Brick: Move your mouse cursor into the building area. You'll see an outline of the brick. Click to place it on the ground plane.
- Change Color: With the brick selected, use the Color Picker tool in the top toolbar or the color swatch in the Properties Panel (right) to change its color. Try a vibrant color like Bright Red or Medium Azure.
- Add Another Brick: Select another brick, perhaps a "plate 2x4." Hover it over your first brick. Studio's intelligent snapping system will automatically align it. Click to place it.
- Rotate Bricks: Select a brick. Use the Rotate tool (or press 'R') and drag the colored rotation handles that appear around the brick to change its orientation. This is essential for creating varied structures, much like building a detailed section of the Downtown Flower and Design Stores.
- Connect Bricks: Studio's snapping is very powerful. When you drag a brick close to another, it will "snap" into place if there's a valid connection point. You can also use the 'Connect' tool for more precise connections or to connect multiple parts at once.
- Delete Bricks: Select a brick and press 'Delete' on your keyboard, or use the Delete tool from the toolbar.
Pro Tip: Hold down 'Ctrl' (Windows) or 'Cmd' (macOS) while dragging a selected brick to clone it, making repetition quick and easy. This is particularly useful when building mosaic patterns, like those found in the Lego Mosaic Dino or the Lego Mosaic Cat.
Advanced Techniques for Aspiring Digital Builders
Once you've mastered the basics, Studio offers a wealth of advanced features to elevate your designs.
1. Sub-Models and Grouping:
For complex builds, breaking your model into smaller, manageable sections (sub-models) is key. You can create a sub-model from selected parts, which then acts as a single unit. Grouping parts together also allows you to move, rotate, or delete them collectively without formally creating a sub-model. This is incredibly useful for designing intricate mechanisms or modular sections, similar to how you might approach a large set like the Giant Lego Topic Set.
- Create a Sub-model: Select the parts you want to group, then go to 'Model' > 'Create Submodel'.
- Group/Ungroup: Select parts, then right-click and choose 'Group' or 'Ungroup'.
2. Collision Detection:
Studio's collision detection helps prevent physically impossible builds. It will highlight parts in red if they are clashing or overlapping. This is a lifesaver for ensuring your digital MOCs can actually be built in real life.
3. Creating Custom Instructions:
This is where Studio truly shines for MOC designers. The 'Instructions' tab allows you to break your model down into steps, add callouts for sub-models, and generate a professional PDF. This feature alone makes Studio indispensable for sharing your creations. Imagine designing a detailed custom minifigure display stand for the Lego Minifigure and then sharing the instructions with friends!
- Switch to the 'Instructions' tab.
- Use the 'Add Step' button to create new steps.
- Drag and drop parts from your model into each step. Studio smartly suggests logical steps.
- Add 'Callouts' to highlight specific connections or sub-assemblies.
- Once complete, export as a PDF or HTML.
4. Rendering Your Model:
Studio includes a powerful rendering engine (using POV-Ray or Open GL) to create stunning, photo-realistic images of your digital builds. You can adjust lighting, background, and camera angles to make your model truly pop. This is fantastic for showcasing complex display models like the LEGO Ninjago Dragon Stone Shrine (71819) or custom mosaic art like the Lego Mosaic Johnny Thunder.
- Go to 'File' > 'Render'.
- Choose your desired resolution, quality, and output format.
- Click 'Render' and watch your digital creation transform into a beautiful image.
5. Integrating with BrickLink:
The ultimate goal for many digital builders is to turn their virtual designs into physical models. Studio makes this incredibly easy.
- Go to 'File' > 'Export' > 'Export to BrickLink'.
- This will generate a "wanted list" on BrickLink, showing all the parts needed for your model.
- From there, you can easily find sellers and purchase the bricks directly, bringing your digital MOC to life! This feature is perfect for those inspired by universal building sets like the Giant Lego Topic Set who want to order specific pieces for their unique creations.
Key Takeaways: Why BrickLink Studio is a Game-Changer
BrickLink Studio isn't just another CAD program; it's a revolutionary tool for the LEGO community. It democratizes LEGO design, making it accessible to anyone with a computer. From infinite brick supplies to automated instructions and seamless integration with the world's largest LEGO marketplace, Studio empowers builders to push the boundaries of their creativity. It's an essential resource for MOC designers, a fantastic learning tool for beginners, and a fun way for anyone to experiment with LEGO without physical limitations.
Recommended LEGO Sets for Inspiring Your Digital Designs
While Studio offers an endless supply of virtual bricks, physical LEGO sets can provide fantastic inspiration for your digital creations. Here are some sets that offer great parts, interesting building techniques, or themes ripe for digital expansion:
- Marvel Studios Iron Man: With 3167 pieces, this LEGO Art set is a mosaic masterpiece. It's perfect for inspiring digital mosaic designs or experimenting with different pixel art techniques in Studio. You could even design your own custom mosaic for a favorite character!
- Lego Mosaic Dino, Lego Mosaic Cat, & Lego Mosaic Johnny Thunder: These mosaic sets, ranging from 2127 to 2847 pieces, directly showcase the art of brick-built pixel art. Use them as a starting point in Studio to create variations, larger versions, or entirely new mosaic themes.
- Modular LEGO Store: As part of the BrickLink Designer Program, this 2124-piece set demonstrates intricate modular building techniques. It's an ideal inspiration for designing your own modular buildings, extensions, or interior details within Studio.
- Downtown Flower and Design Stores: This 2010-piece Friends set offers a vibrant, detailed streetscape. It's excellent for practicing interior design, adding landscaping, or creating custom vehicles and minifigure scenes in Studio.
- Bonus Lego Basic Town & Giant Lego Topic Set: These large universal building sets (2542 and 2195 pieces, respectively) are treasure troves of basic bricks. They are perfect for understanding fundamental connections and inspiring diverse MOCs, from houses to vehicles, all of which you can first prototype in Studio.
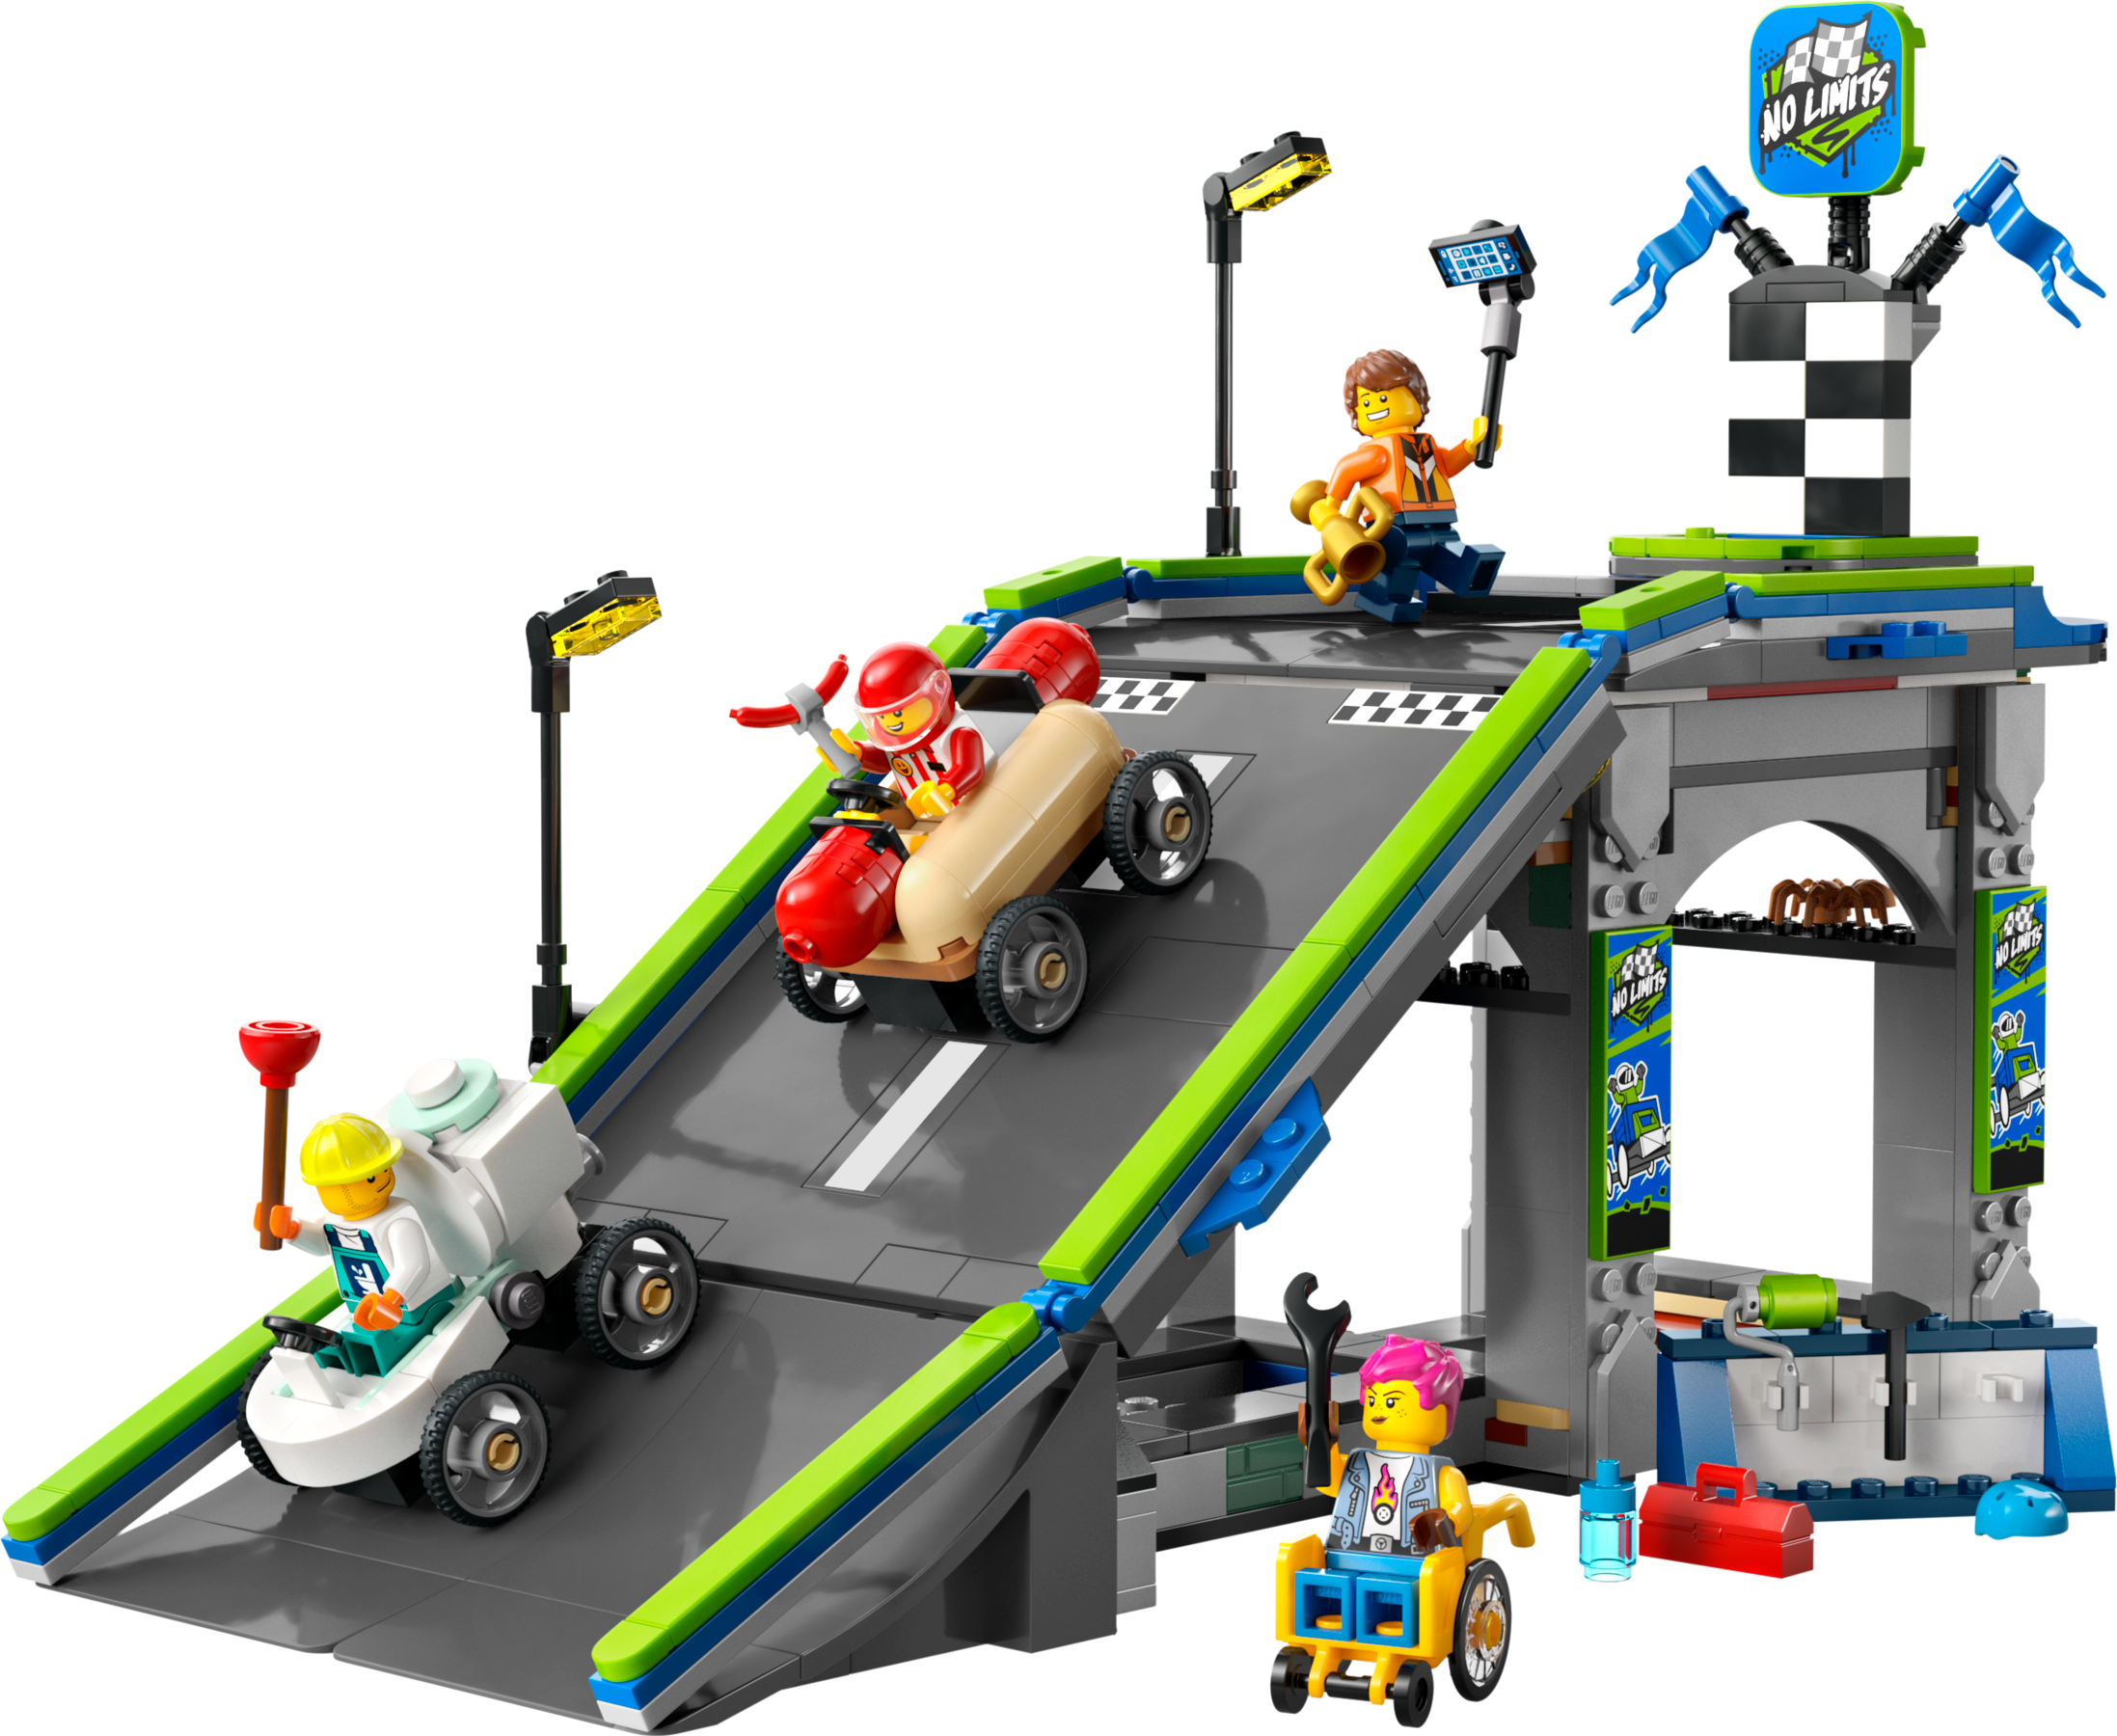
- New LEGO City 2025 Sets: Sets like the LEGO Set 60447 (Off-Road 4x4 Mountain Truck), LEGO Set 60462 (Helicopter, Fire Truck & Submarine Remix), and LEGO Set 60460 (Race Car Ramp Track) are fantastic for practicing vehicle design in Studio. Try recreating them digitally, then modifying them with custom colors or features.
- LEGO Ninjago Dragon Stone Shrine (71819): This intricate 2024 set, praised for its detailed build and display potential, is a great example of advanced building techniques. Use Studio to design alternative landscapes, add more mystical elements, or even create entirely new sections for a Ninjago-themed MOC.
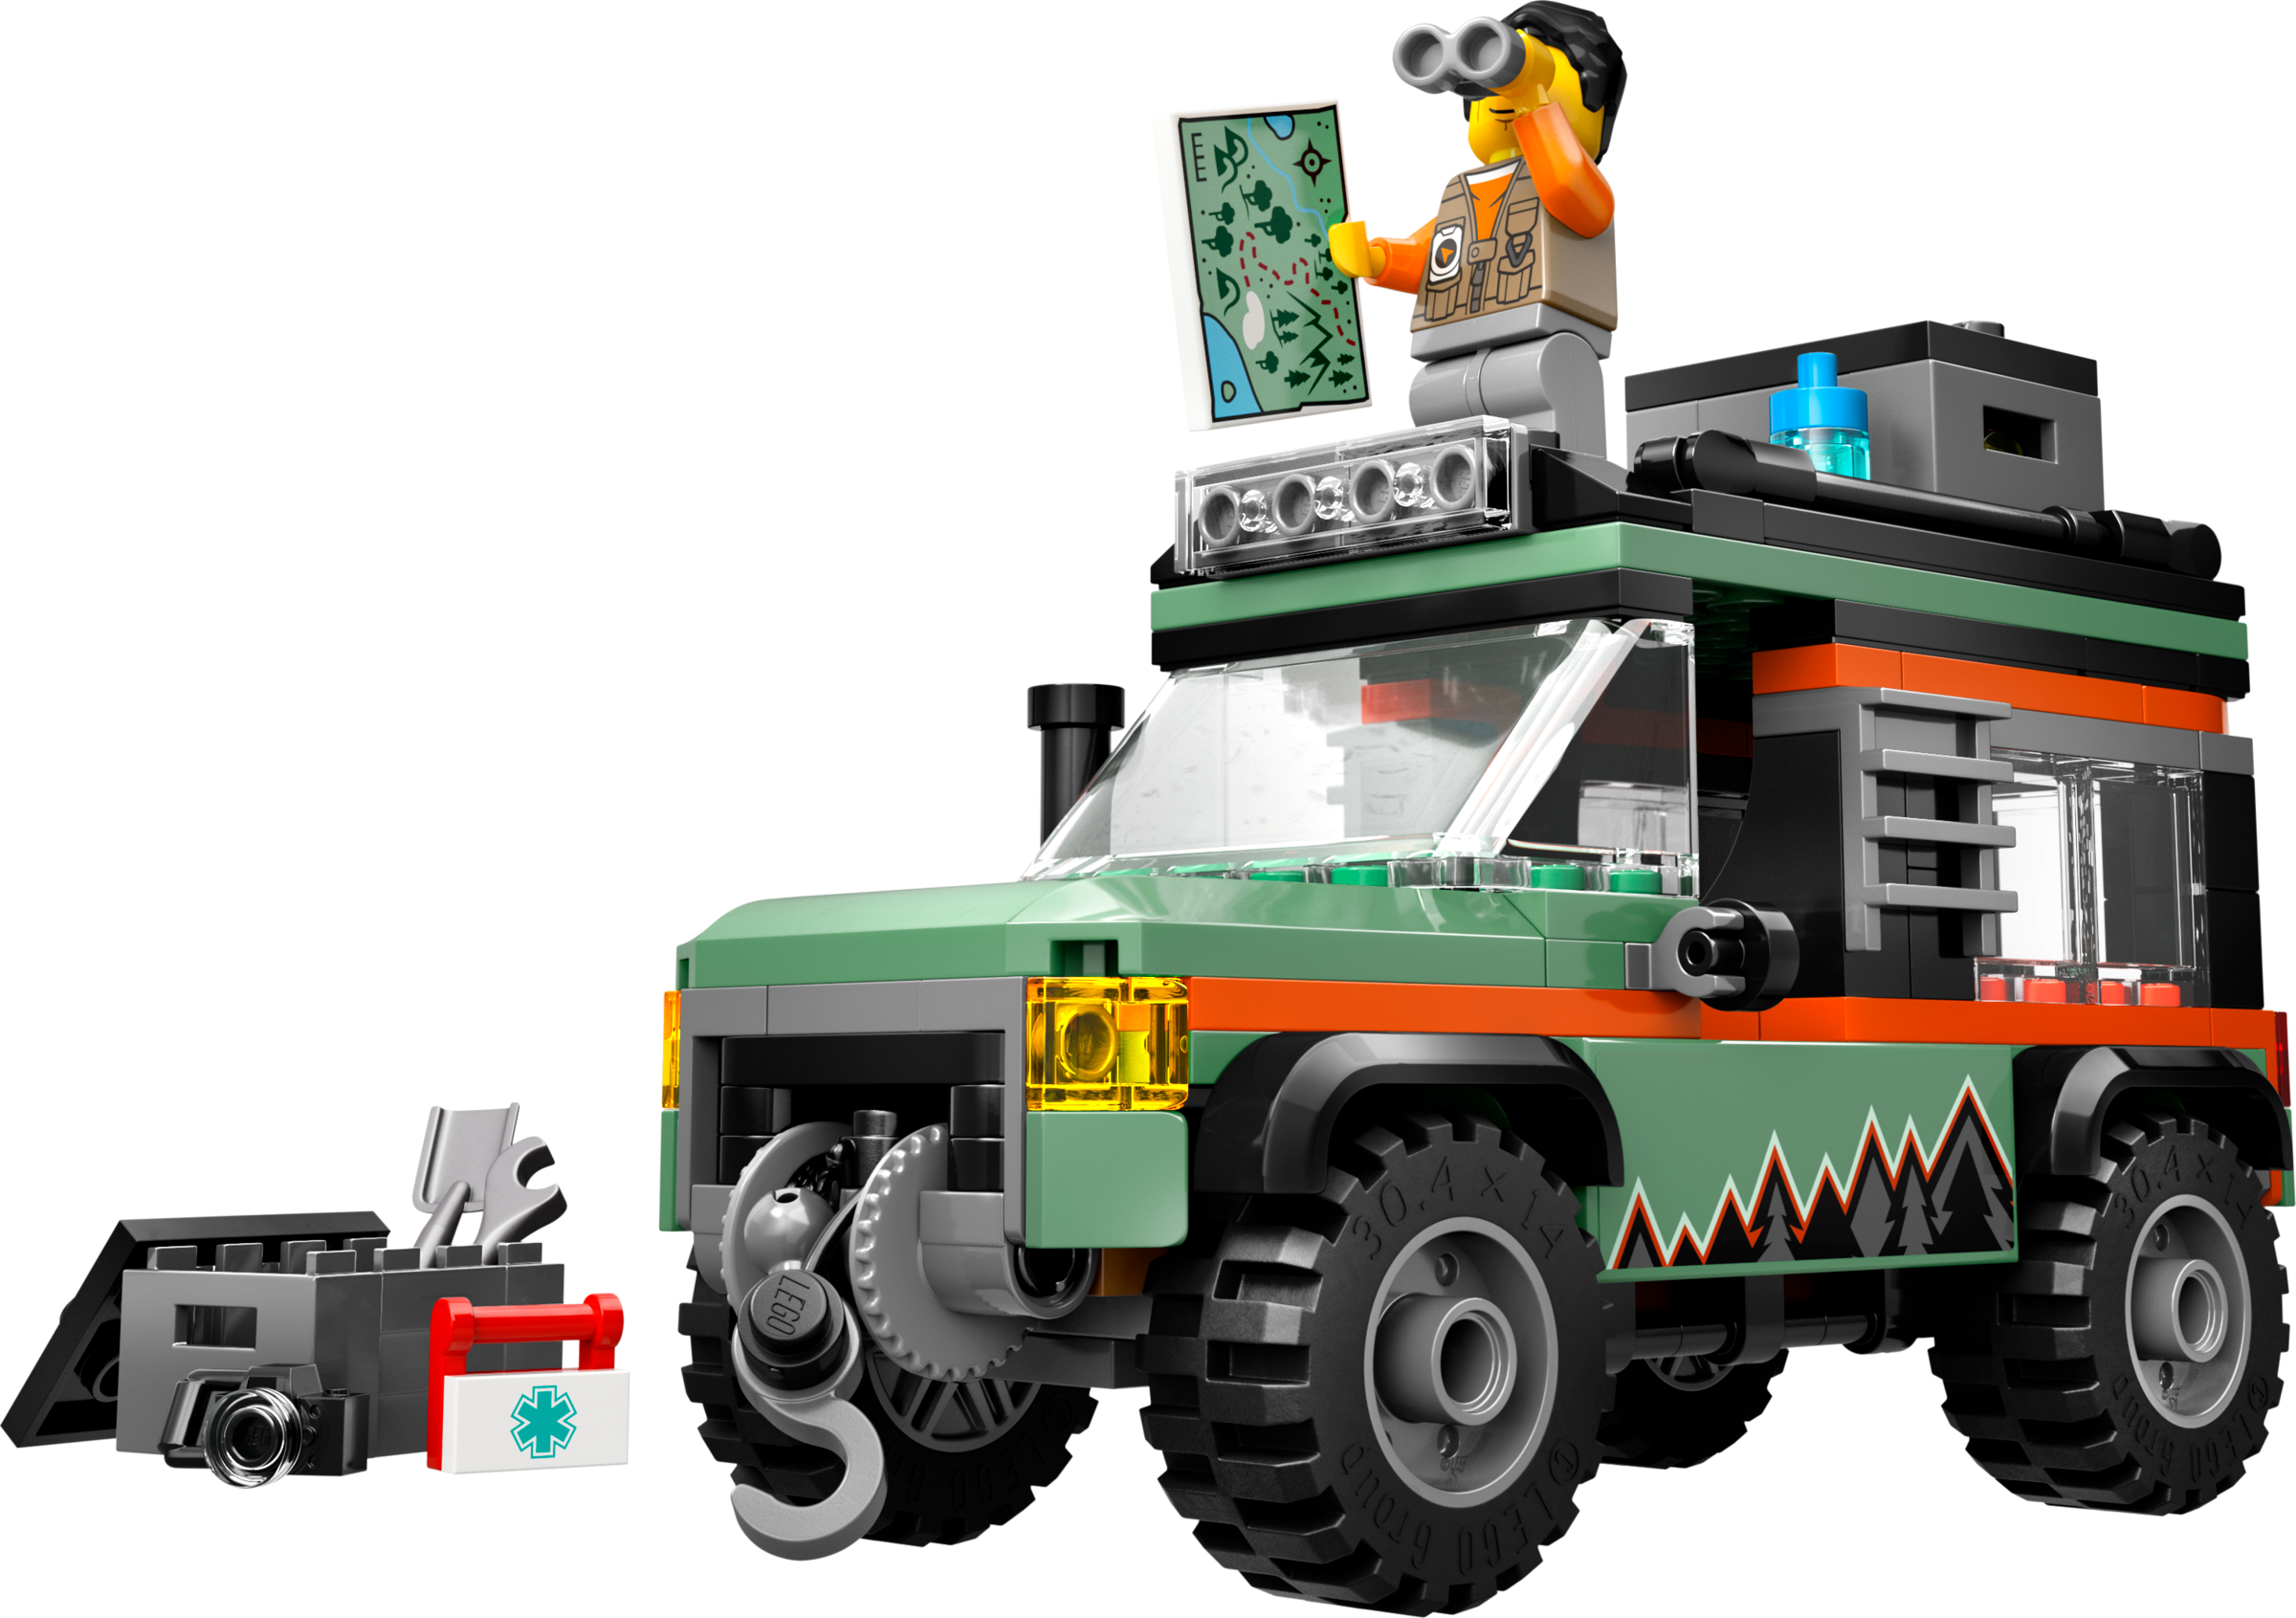
Explore the wild with this rugged 221-piece LEGO City set! Featuring a working winch and adventurer minifigure, it's ready for off-road action.
Quick Comparison Table: Inspiration for Your Digital Builds
Here's a quick look at some sets that provide excellent inspiration for different types of digital LEGO design:
| Name | Piece Count | Best For |
|---|---|---|
| Marvel Studios Iron Man | 3167 | Mosaic & Pixel Art Design |
| Modular LEGO Store | 2124 | Modular Building & Architectural MOCs |
| Downtown Flower and Design Stores | 2010 | Urban Layouts, Interior Details & Custom Vehicles |
| Bonus Lego Basic Town | 2542 | Fundamental Building & Diverse MOC Prototyping |
| LEGO Ninjago Dragon Stone Shrine (71819) | N/A | Intricate Display Models & Fantasy Builds |
What to Consider When Buying LEGO Sets for Digital Inspiration
When you're looking for physical sets to spark your digital creativity, consider these factors:
- Part Variety: Sets with a diverse range of unique bricks, plates, and specialized elements will provide more options for your digital designs. Universal building sets like Giant Lego Topic Set are excellent for this.
- Color Palette: If you're inspired by specific color schemes, look for sets that feature those colors prominently. Studio allows infinite color changes, but starting with a strong visual reference helps.
- Theme Relevance: Choose themes that align with your interests. If you love vehicles, new LEGO City vehicles can inspire detailed digital car or truck MOCs. If you prefer architecture, modular buildings are a great starting point.
- Building Techniques: Advanced sets often introduce clever building techniques that you can learn from and then apply in your digital designs. Sets designed for adult builders, often found in the LEGO Adults Welcome collection, are particularly rich in these.
- MOC Potential: Some sets are designed to be easily modified or expanded. These are perfect for practicing your digital design skills by creating alternative builds or additions within Studio.
Conclusion
Embarking on your digital LEGO design journey with BrickLink Studio opens up a world of creative possibilities. From limitless virtual bricks to photo-realistic renders and seamless integration with the BrickLink marketplace, this free software is an indispensable tool for any LEGO enthusiast. Whether you're planning your next MOC, recreating a beloved set like the Marvel Studios Iron Man with a custom twist, or simply experimenting with new building techniques, Studio empowers you to design, refine, and ultimately build your LEGO dreams. Don't let physical brick limitations hold you back – download BrickLink Studio today and start building beyond imagination!
Unlock your LEGO creativity with BrickLink Studio! This beginner's tutorial guides you through digital LEGO design, MOC creation, and ordering parts. Start building virtually today!
BrickLink Studio, LEGO design, digital LEGO, LEGO MOC, Studio tutorial, virtual LEGO, LEGO CAD, BrickLink, LEGO building software, LEGO instructions
Learn how to use BrickLink Studio, the free digital LEGO design software, with this comprehensive beginner's tutorial. Create custom MOCs, generate instructions, and order parts seamlessly.
Q: Is BrickLink Studio free to download and use?
A: Yes, BrickLink Studio is completely free to download, install, and use on both Windows and macOS operating systems. There are no hidden costs or subscription fees, making it accessible to everyone.
Q: What does MOC stand for in the LEGO community?
A: MOC stands for "My Own Creation." It refers to any LEGO model that has been designed and built independently by an individual, rather than following official LEGO instructions for a specific set. BrickLink Studio is an ideal tool for designing and planning MOCs.
Q: Can I import models from other LEGO CAD programs into Studio?
A: Yes, Studio supports importing models from various other LEGO CAD formats, including .LDR (LDraw), .LXO (LEGO Digital Designer), and .IO (Studio's native format). This allows you to work with designs created in different software.
Q: Is BrickLink Studio difficult for beginners to learn?
A: While Studio has a lot of features, its interface is surprisingly intuitive, especially if you're already familiar with 3D design software or even video games. The basic tools for placing, moving, and connecting bricks are easy to grasp, and there are many online tutorials (like this one!) to help you learn advanced techniques at your own pace.
Q: Can I order the physical parts for my digital design directly from Studio?
A: Yes, one of Studio's most powerful features is its direct integration with the BrickLink marketplace. You can export your digital model's parts list as a "wanted list" directly to BrickLink, where you can then easily find sellers and purchase all the necessary physical bricks.
Q: What are the minimum system requirements for running BrickLink Studio?
A: BrickLink Studio is relatively lightweight. Generally, a computer with Windows 7 or later (or macOS 10.12 Sierra or later), at least 4GB of RAM, and a decent graphics card (even integrated graphics usually work fine) should be sufficient for basic building. For advanced rendering, more RAM and a dedicated graphics card will significantly improve performance.
Q: Can I use Studio to design custom minifigures?
A: Absolutely! Studio has an extensive library of minifigure parts, including heads, torsos, legs, and accessories. You can mix and match elements, recolor them, and even design custom accessories to create unique minifigures to populate your digital scenes, perhaps even a custom version of the Lego Minifigure itself!
Use Our Tools to Go Further
Get more insights about the sets mentioned in this article with our free LEGO tools