LEGO MINDSTORMS Robot Inventor Programming Guide: From Scratch to Python
Supporting Free Content
When you purchase through our links, we earn a small commission at no extra cost to you. As an Amazon Associate and eBay Partner, this helps us keep bringing you expert LEGO® reviews and guides. Thank you for your support!
The LEGO MINDSTORMS Robot Inventor (51515-1) runs MicroPython on a powerful hub with 6 I/O ports, gyro sensor, and Bluetooth connectivity. This comprehensive guide teaches you real programming skills with hands-on code examples that work on actual hardware.
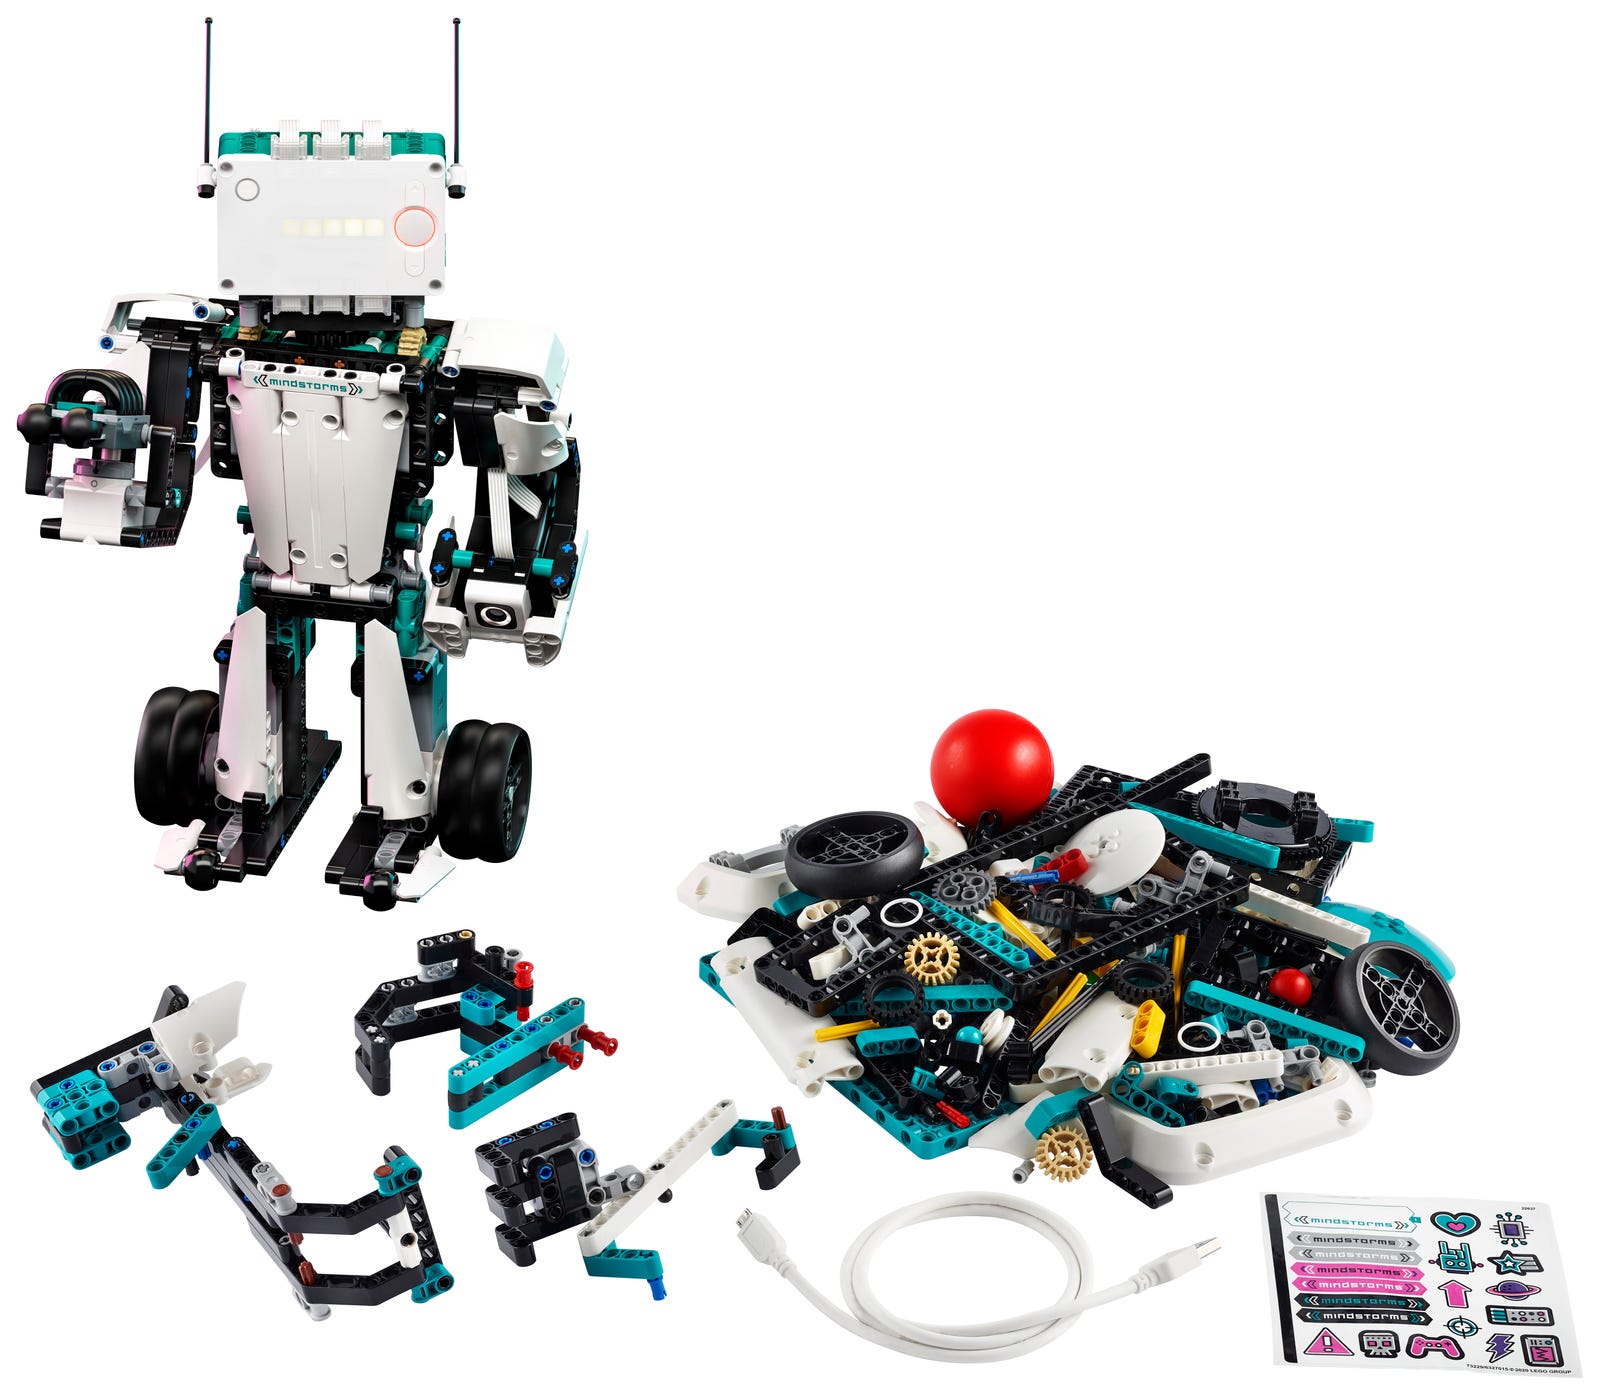
Code interactive robots and vehicles with 949 pieces of LEGO Mindstorms magic. Perfect for STEM learning and hours of creative fun!
Table of Contents
- Development Environment Setup
- Visual Programming with Scratch
- Python Programming Fundamentals
- Motor Control & Movement
- Sensor Integration
- Advanced Robotics Techniques
- Troubleshooting
Development Environment Setup
Option 1: Official LEGO App (Beginner-Friendly)
- Download the App: Get the LEGO MINDSTORMS Robot Inventor app from LEGO's official site
- Connect Your Hub: Turn on the hub (press the center button), then connect via Bluetooth or USB-C cable
- Update Firmware: The app will prompt you to update to the latest firmware version
- Choose Your Language: Select Scratch blocks (visual) or Python (text-based)
Option 2: Pybricks (Advanced Python)
Pybricks is a powerful alternative firmware that provides a cleaner Python API and better performance:
- Install Pybricks: Visit pybricks.com and follow the installation instructions
- Flash Your Hub: Connect via USB and install the Pybricks firmware (you can revert to LEGO firmware anytime)
- Use the Web IDE: Program directly in your browser at code.pybricks.com
Get MINDSTORMS Robot Inventor (51515)
Visual Programming with Scratch
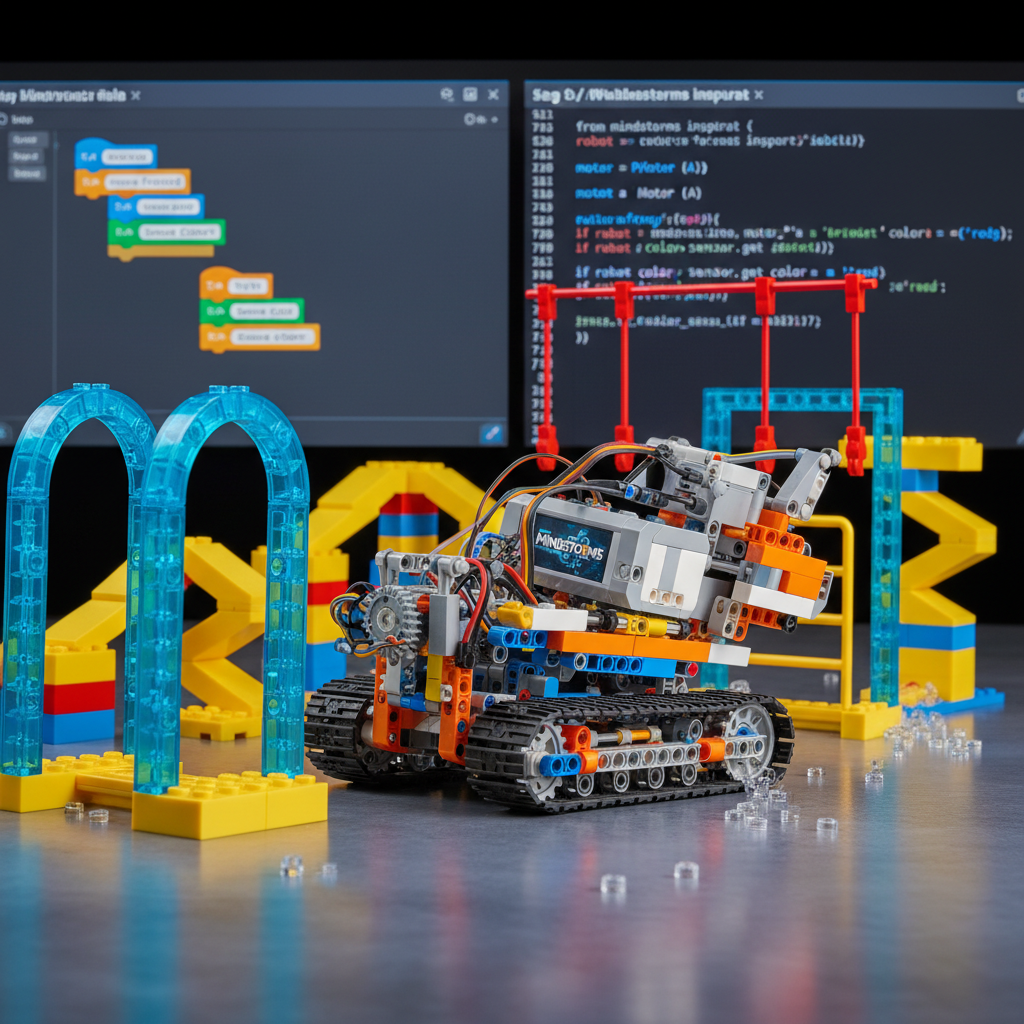
The Scratch-based environment uses drag-and-drop blocks to teach programming concepts without syntax errors. Here's a simple program to make your robot move forward and avoid obstacles:
Example: Obstacle Avoidance Robot
When program starts-
Forever loopIf distance sensor < 10 cm- →
Turn right 90 degrees Else- →
Move forward at 50% speed
Concepts Learned: Loops, conditionals, sensor input, motor output
Python Programming Fundamentals
MINDSTORMS Robot Inventor runs MicroPython, a lightweight version of Python 3 optimized for microcontrollers. Here's your first program:
Example 1: Hello World with Sound
from mindstorms import MSHub import time

Initialize the hub hub = MSHub()

Display text on LED matrix hub.light_matrix.write("HELLO")

Play a beep sound (frequency, duration) hub.speaker.beep(60, 0.5)

time.sleep(2)

Show a smiley face hub.lightmatrix.showimage('HAPPY')
What This Does: Displays "HELLO" on the 5x5 LED matrix, plays a beep, waits 2 seconds, then shows a smiley face.
Example 2: Reading the Gyro Sensor
from mindstorms import MSHub
hub = MSHub()
# Continuously read orientation while True: # Get yaw (rotation around vertical axis) yaw = hub.motion_sensor.get_yaw_angle()
# Get pitch (tilt forward/back) pitch = hub.motion_sensor.get_pitch_angle()
# Get roll (tilt left/right) roll = hub.motion_sensor.get_roll_angle()
print(f"Yaw: {yaw}° Pitch: {pitch}° Roll: {roll}°")
time.sleep(0.5)
Use Case: Build a self-balancing robot or create a gyro-controlled steering system.
Motor Control & Movement
The Robot Inventor includes 4 medium angular motors. Here's how to control them with precision:
Example 3: Basic Motor Control
from mindstorms import Motor import time
# Initialize motor on port A motor = Motor('A')
# Method 1: Run at specific speed (-100 to 100) motor.run_at_speed(50)  # 50% speed clockwise time.sleep(2) motor.stop()
# Method 2: Run for specific rotations motor.run_for_rotations(2, 75)  # 2 full rotations at 75% speed
# Method 3: Run to absolute position motor.run_to_position(180, 50)  # Move to 180 degrees
# Method 4: Get current position position = motor.get_position() print(f"Motor position: {position} degrees")
Example 4: Synchronized Tank Drive
from mindstorms import MotorPair
# Initialize motors on ports A and B as a pair drive_motors = MotorPair('A', 'B')
# Move forward drive_motors.move(10, 'cm', 0, 50)  # 10cm straight at 50% speed
# Turn in place (steering = 100 for tight turn) drive_motors.move(5, 'rotations', 100, 30)  # Spin right
# Curve turn (steering = 50 for gentle curve) drive_motors.move(15, 'cm', 50, 40)  # Curve right while moving
# Move backward drive_motors.move(10, 'cm', 0, -50)  # Negative speed = backward
Example 5: Line Following Robot
from mindstorms import ColorSensor, MotorPair
# Setup color_sensor = ColorSensor('C') motors = MotorPair('A', 'B')
# PID constants (tune these for your robot) KP = 1.5  # Proportional gain TARGET = 50  # Target brightness (50 = edge of line) BASE_SPEED = 30
while True: # Read reflected light (0 = dark, 100 = bright) brightness = color_sensor.get_reflected_light()
# Calculate error from target error = brightness - TARGET
# Proportional steering correction steering = KP * error
# Apply steering (-100 to 100) motors.start(steering, BASE_SPEED)
How It Works: The color sensor reads the brightness of the surface. When the robot drifts off the line, the error increases, causing it to steer back toward the line. This is a simplified PID (Proportional-Integral-Derivative) controller.
Sensor Integration
Color Sensor (Port C)
from mindstorms import ColorSensor
sensor = ColorSensor('C')
# Method 1: Detect color color = sensor.get_color()  # Returns: 'red', 'blue', 'green', etc. print(f"Detected: {color}")
# Method 2: Measure reflected light (0-100) brightness = sensor.get_reflected_light()
# Method 3: Measure ambient light ambient = sensor.get_ambient_light()
# Method 4: Get RGB values r, g, b = sensor.get_rgb_intensity() print(f"RGB: ({r}, {g}, {b})")
# Use case: Sort colored objects if color == 'red': print("Red object detected!") elif color == 'blue': print("Blue object detected!")
Distance Sensor (Port D)
from mindstorms import DistanceSensor, MotorPair
distance_sensor = DistanceSensor('D') motors = MotorPair('A', 'B')
# Obstacle avoidance with distance sensor while True: # Get distance in cm (0-200 cm range) dist = distance_sensor.get_distance_cm()
if dist is None: # Out of range or no object detected motors.move(2, 'cm', 0, 30) elif dist < 10: # Too close - back up and turn motors.move(5, 'cm', 0, -30)  # Back up motors.move(1, 'rotations', 100, 30)  # Turn else: # Safe distance - move forward motors.move(5, 'cm', 0, 40)
Example 6: Multi-Sensor Decision Making
from mindstorms import MSHub, ColorSensor, DistanceSensor, MotorPair
hub = MSHub() color = ColorSensor('C') distance = DistanceSensor('D') motors = MotorPair('A', 'B')
while True: dist = distance.get_distance_cm() detected_color = color.get_color() tilt = hub.motion_sensor.get_pitch_angle()
# Decision tree based on multiple sensors if tilt > 30: # Robot is tilted up - stop for safety motors.stop() hub.speaker.beep(80, 0.2) elif dist and dist < 15: # Obstacle close - check color if detected_color == 'red': # Red obstacle - emergency stop motors.stop() hub.light_matrix.show_image('SAD') else: # Other color - navigate around motors.move(1, 'rotations', 75, 25) else: # All clear - proceed motors.start(0, 40)
Advanced Robotics Techniques
Using Pybricks for Better Performance
Pybricks offers more precise control and faster execution. Here's the same motor control in Pybricks:
from pybricks.hubs import InventorHub from pybricks.pupdevices import Motor from pybricks.parameters import Port, Direction from pybricks.tools import wait
# Initialize hub = InventorHub() motor = Motor(Port.A, Direction.CLOCKWISE)
# Run at specific speed (deg/s) motor.run(500)  # 500 degrees per second wait(2000)  # Wait 2 seconds motor.stop()
# Run to target angle with precise control motor.run_target(speed=200, target_angle=360, wait=True)
# Advanced: Set PID constants for smoother motion motor.control.limits(speed=1000, acceleration=2000)
Calibration Technique
from mindstorms import ColorSensor
sensor = ColorSensor('C')
# Calibrate for line following print("Place sensor over BLACK surface and press button") # Wait for button press... black_value = sensor.get_reflected_light()
print("Place sensor over WHITE surface and press button") # Wait for button press... white_value = sensor.get_reflected_light()
# Calculate midpoint for line edge target_value = (black_value + white_value) / 2 print(f"Target brightness: {target_value}")
State Machine for Complex Behaviors
from mindstorms import MSHub, ColorSensor, MotorPair
hub = MSHub() color = ColorSensor('C') motors = MotorPair('A', 'B')
# State machine states STATE_SEARCH = 0 STATE_APPROACH = 1 STATE_GRAB = 2 STATE_RETURN = 3
state = STATE_SEARCH
while True: if state == STATE_SEARCH: # Rotate slowly looking for red object motors.start(100, 20) if color.get_color() == 'red': motors.stop() state = STATE_APPROACH
elif state == STATE_APPROACH: # Move toward object motors.move(10, 'cm', 0, 30) state = STATE_GRAB
elif state == STATE_GRAB: # Activate gripper motor (port E) # gripper.run_for_rotations(2, 50) hub.speaker.beep(70, 0.5) state = STATE_RETURN
elif state == STATE_RETURN: # Return to start motors.move(10, 'cm', 0, -30) motors.move(2, 'rotations', 100, 30) state = STATE_SEARCH
Troubleshooting Common Issues
Motor Not Moving
- ✓ Check cable connection to correct port
- ✓ Verify motor isn't mechanically blocked
- ✓ Try
motor.runatspeed(100)to test at full power - ✓ Reset motor position:
motor.setposition(0)
Sensor Reading Errors
- ✓ Ensure sensor is securely connected
- ✓ Check for
Nonevalues:if dist is not None: - ✓ Color sensor requires proper distance (1-2 cm from surface)
- ✓ Distance sensor range is 0-200 cm (returns
Nonebeyond)
Bluetooth Connectivity Issues
- ✓ Make sure hub battery is charged (green light on hub)
- ✓ Turn Bluetooth off/on on your device
- ✓ Restart the hub (hold center button for 10 seconds)
- ✓ Use USB cable for more reliable connection during development
Program Runs Slow
- ✓ Avoid
print()statements in tight loops - ✓ Use
time.sleep()to reduce CPU usage - ✓ Consider upgrading to Pybricks for 2-3x performance boost
Learning Resources
- <a href='https://github.com/azzieg/mindstorms-inventor' target='blank' rel='noopener'>Advanced Python Examples on GitHub
- Anton's MINDSTORMS Tutorials
- Pybricks Documentation & Examples
- Official MINDSTORMS Hub API Reference
Next Steps: Project Ideas
- Autonomous Maze Solver: Use distance sensors and wall-following algorithm
- Color Sorting Machine: Detect colored objects and sort into bins
- Line Following Race Car: Optimize PID constants for fastest lap time
- Robotic Arm with Inverse Kinematics: Calculate joint angles for precise positioning
- Bluetooth Remote Control: Control your robot from a smartphone app
Build Your First Robot with MINDSTORMS Inventor
Use Our Tools to Go Further
Get more insights about the sets mentioned in this article with our free LEGO tools