Smart LEGO Train Network: ESP32, RFID and MQTT Automation
Supporting Free Content
When you purchase through our links, we earn a small commission at no extra cost to you. As an eBay Partner, this helps us keep bringing you expert LEGO® reviews and guides. Thank you for your support!
Turn a LEGO Powered Up train layout into an automated railway. RFID readers under the track report which train passed, an MQTT broker carries the messages, an ESP32 in each train drives the hub with the Legoino library, and a small Python script decides when trains stop and go. All code here connects, reconnects and handles an emergency stop.
A LEGO Powered Up train layout can run itself: trains stop at stations, wait, and leave again with no one holding a remote. The recipe is RFID readers under the track to report which train passed, an MQTT broker to carry messages, an ESP32 in each train to drive its hub over Bluetooth, and a short script to make the decisions. Every piece of code here connects to the broker, reconnects after a drop, and obeys an emergency stop.
System architecture
[Tag under train]  passes over  [RC522 reader under track]
                                        |
                                [Trackside ESP32]
                                        |  Wi-Fi, MQTT
                                        v
                       [Broker + control script on a Pi]
                                        |  Wi-Fi, MQTT
                                        v
                             [ESP32 riding in train 1]
                                        |  Bluetooth
                                        v
[Train's Powered Up hub]- Trackside: an RC522 reader and an ESP32 at each detection point.
- Trains: an ESP32 in each locomotive, connected to the train's Powered Up hub over Bluetooth.
- Server: the Mosquitto broker and the control script, on a Raspberry Pi or any computer that stays on.
Trains that work with this
Any train with a Powered Up hub. Current LEGO sets that include one:
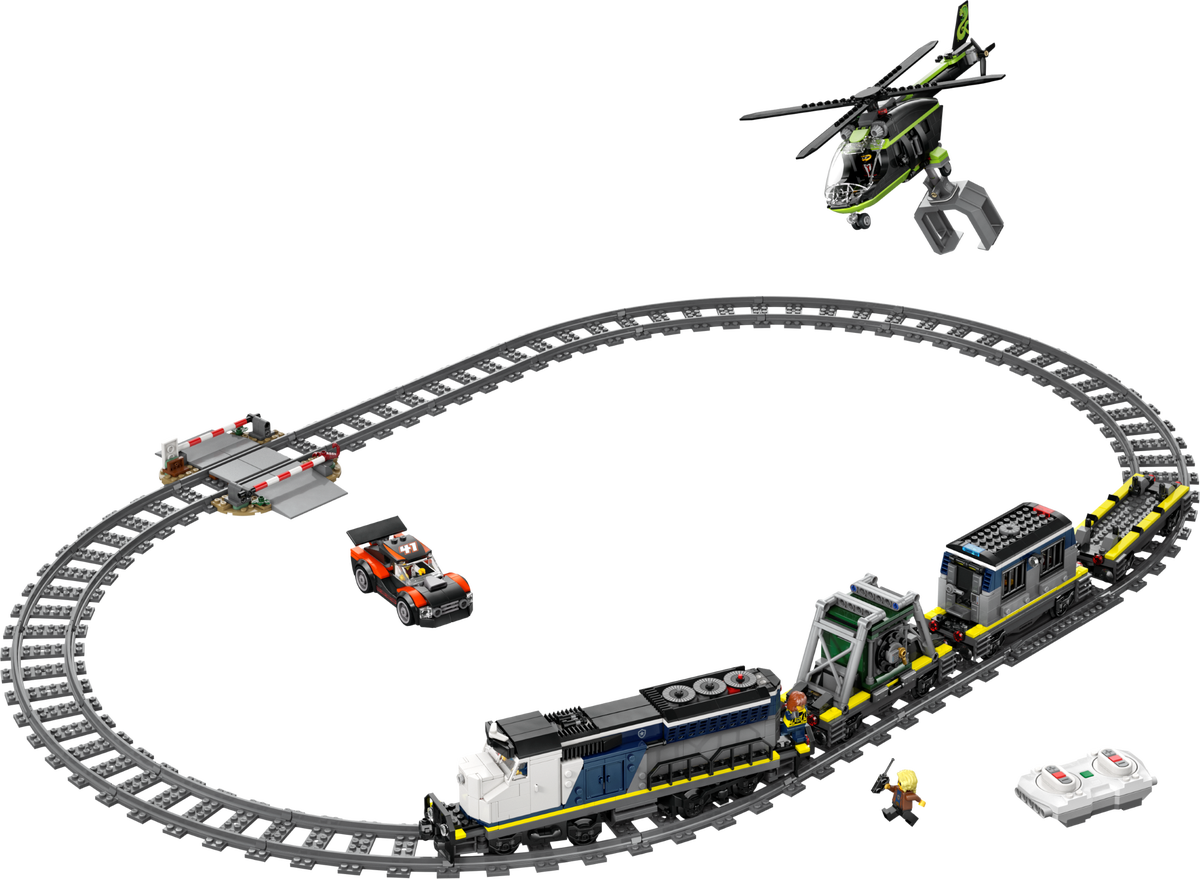
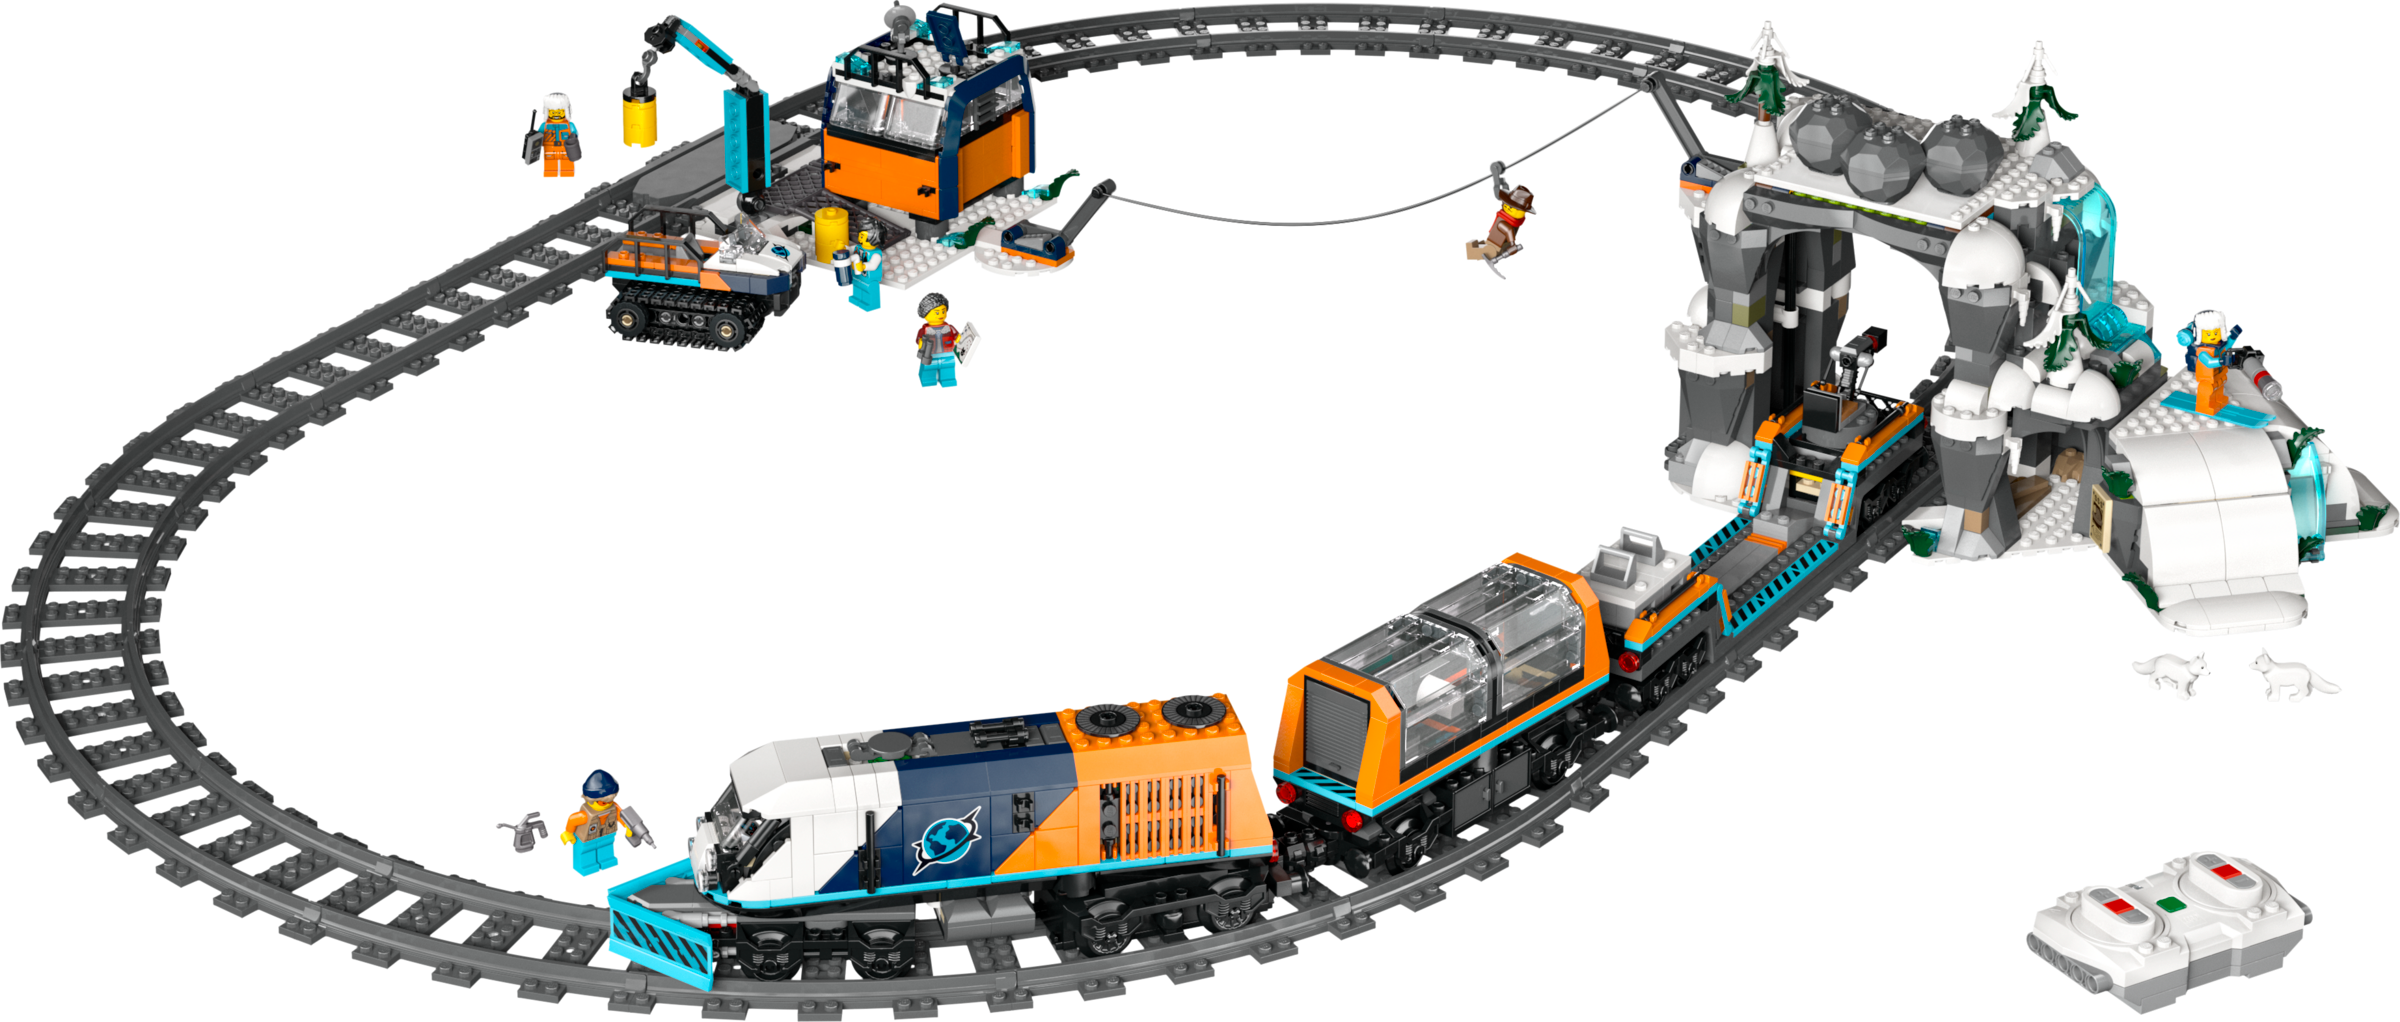
Explorers' Arctic Polar Express Train, a remote-controlled Powered Up locomotive.
Some current trains ship as push trains. LEGO's description of this steam train says a separately sold kit motorizes it for control from the Powered Up app or remote:
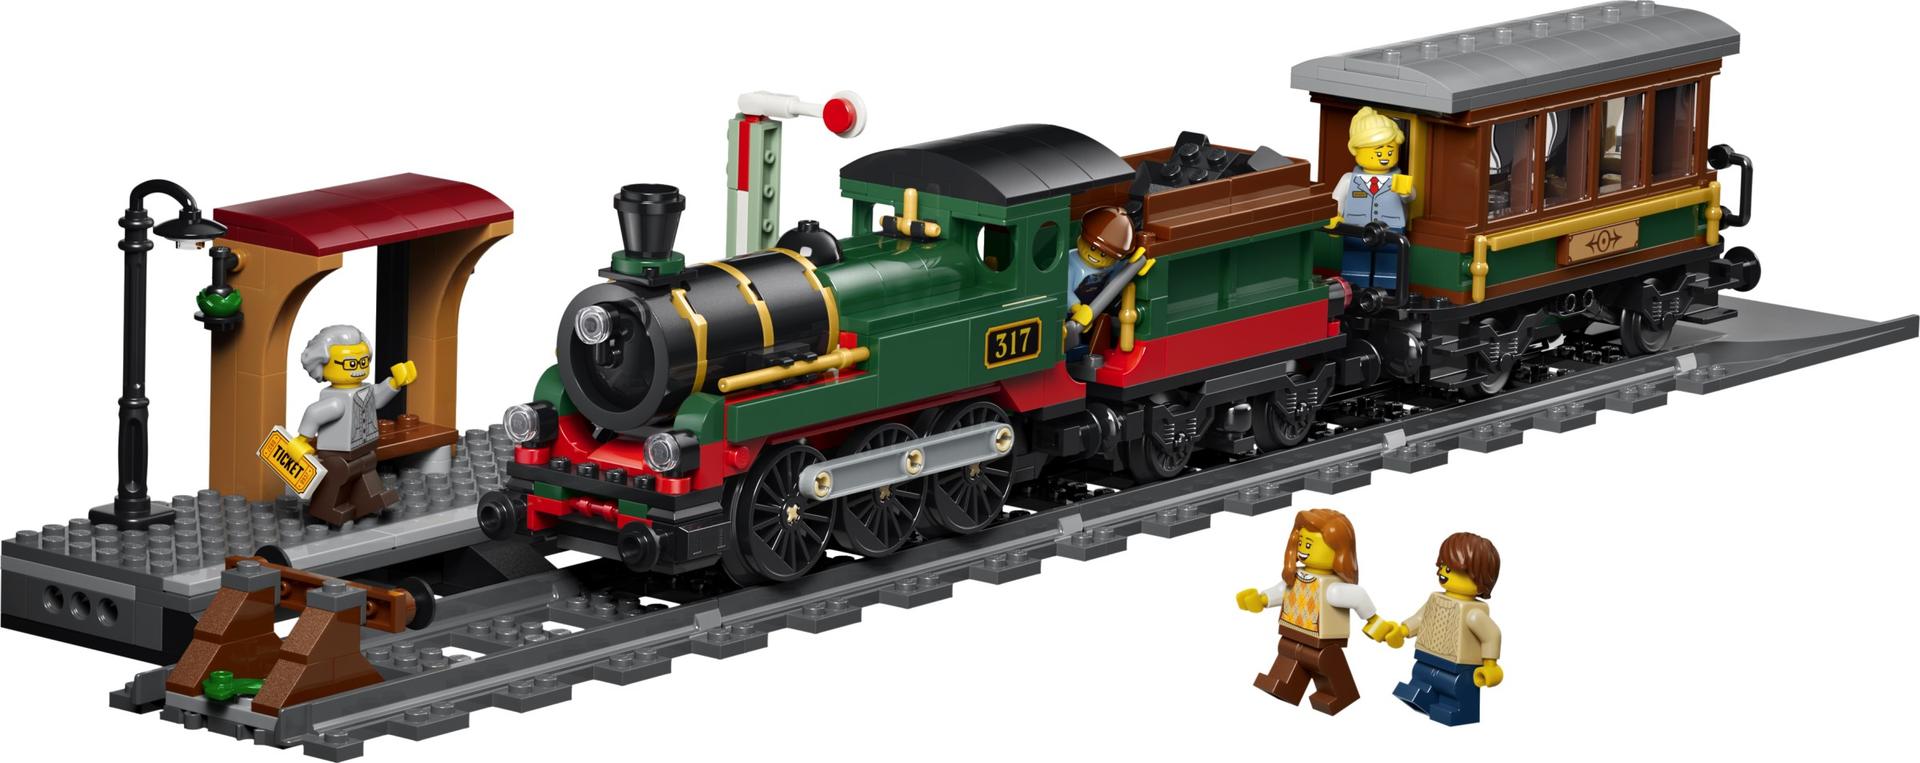
Vintage Steam Train, a push train with a coal tender and passenger car that a separately sold kit motorizes.
A station gives the schedule somewhere to stop:
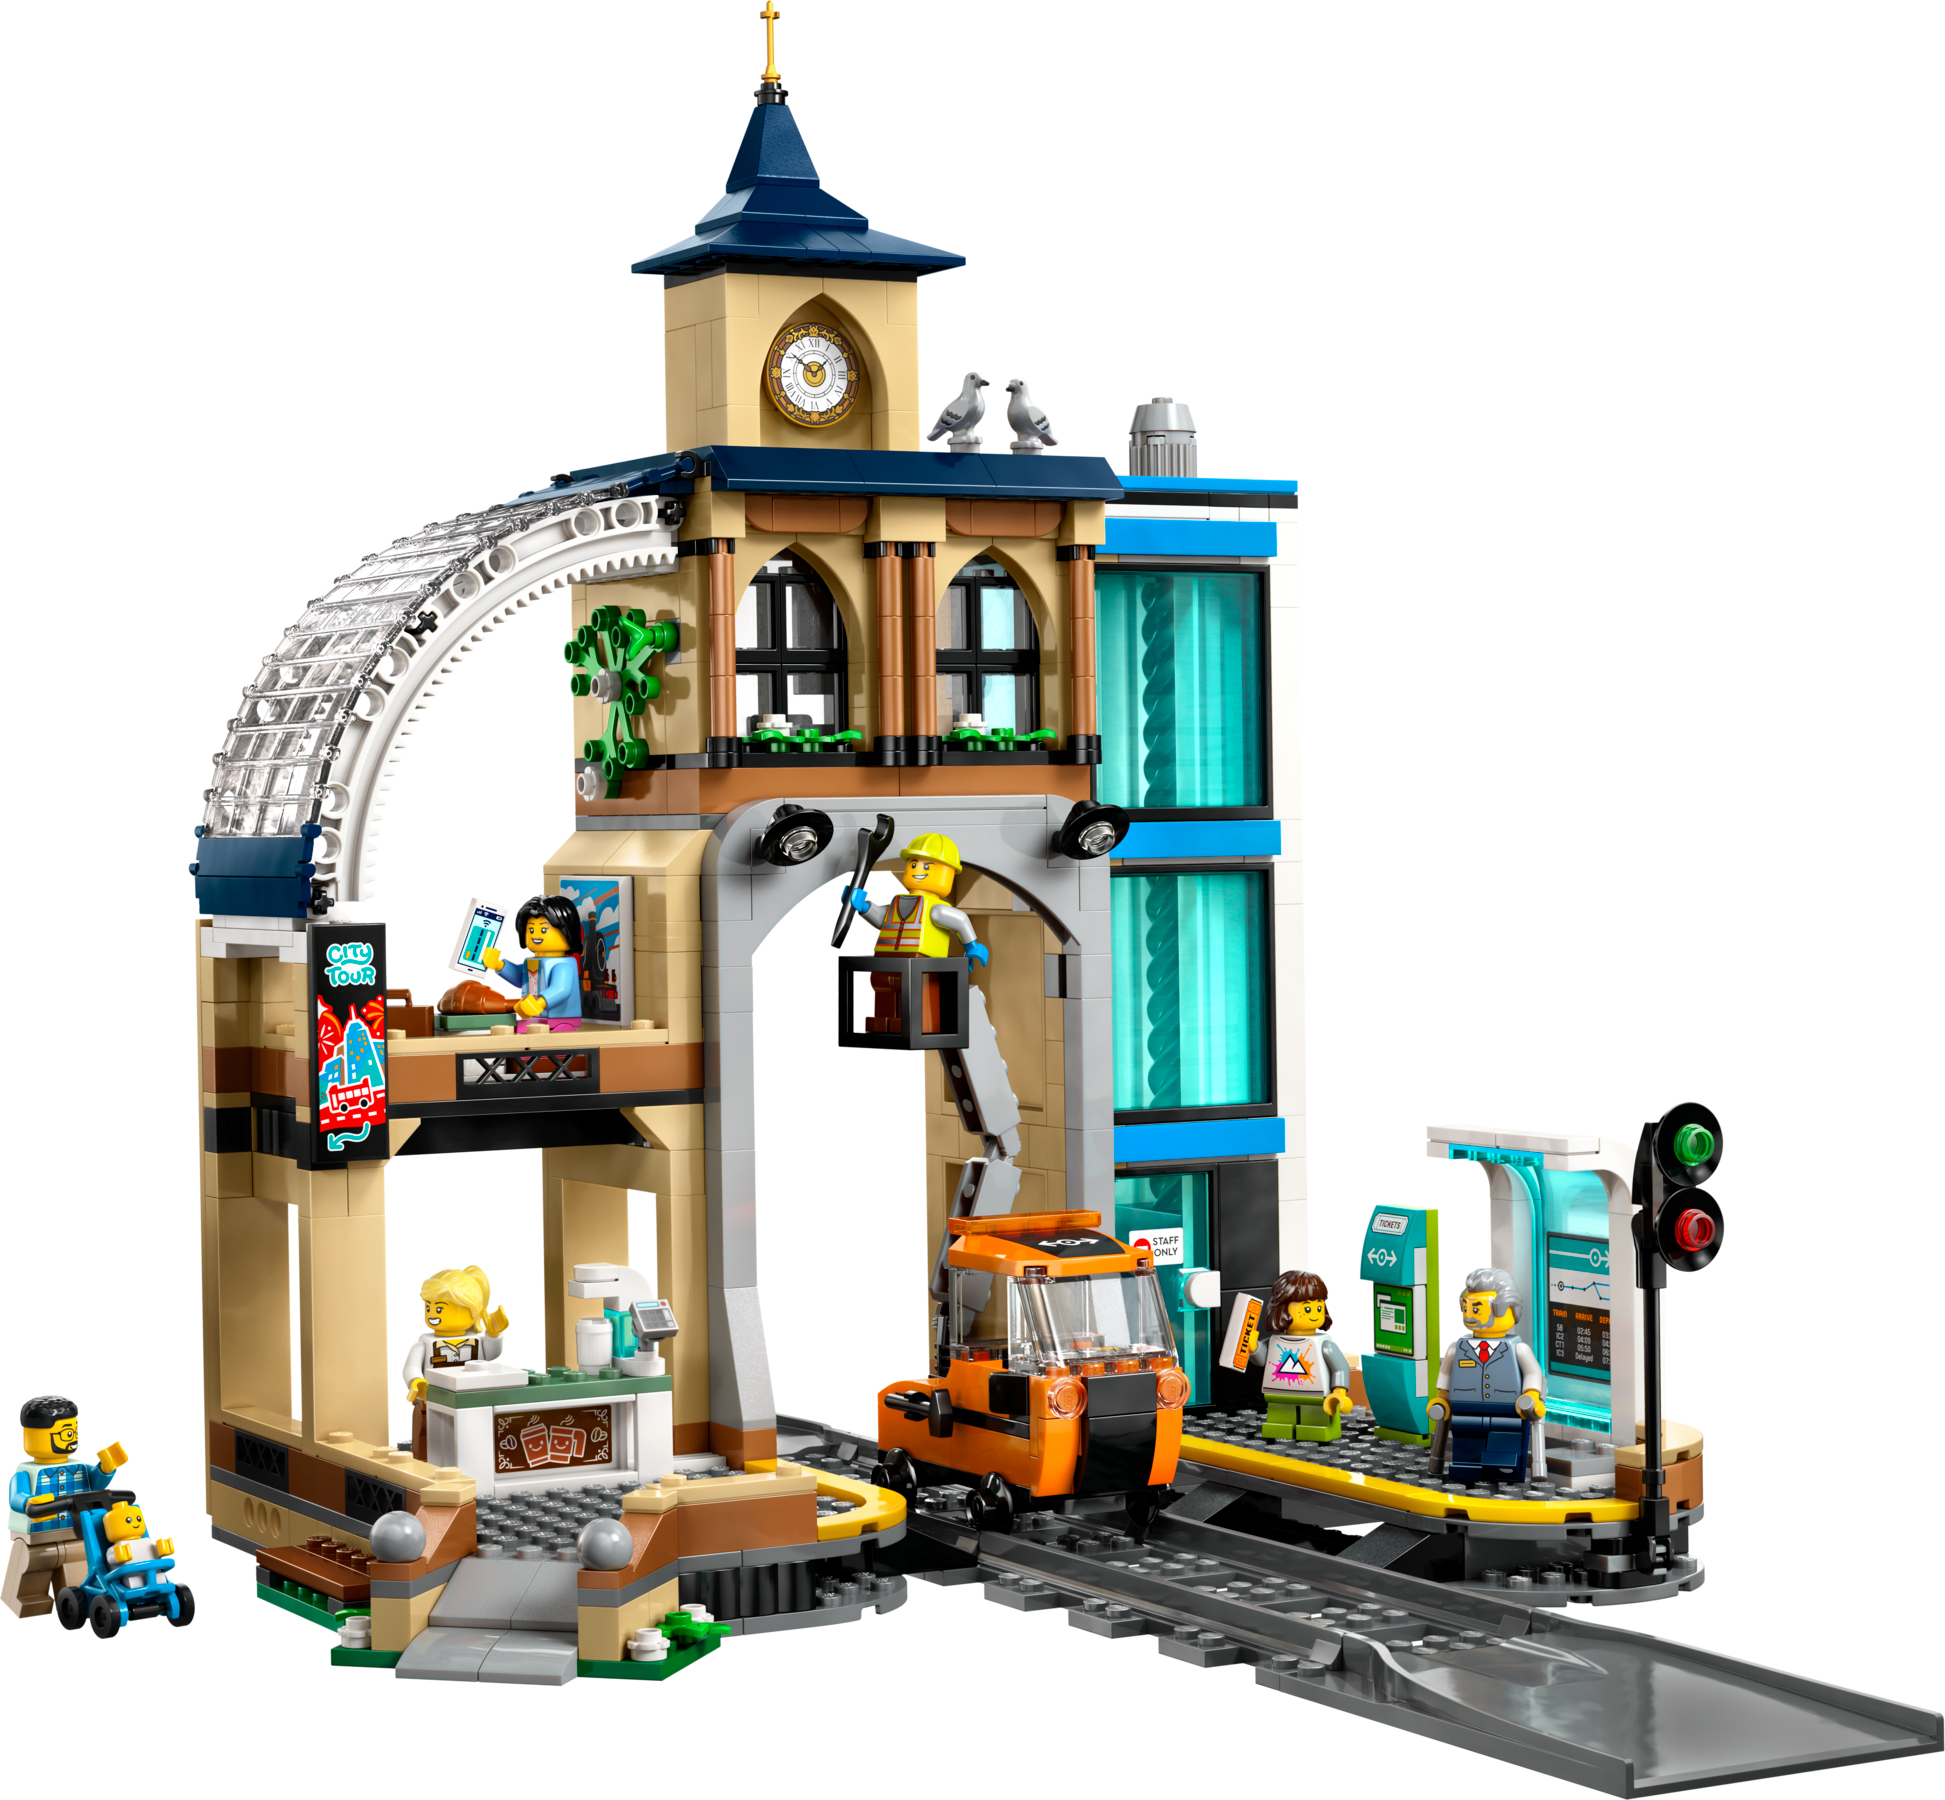
Central Train Station, three levels of platforms and shops for a stopping point.
RFID position tracking
The RC522 boards sold for Arduino projects use NXP's MFRC522 chip, which reads 13.56 MHz tags such as MIFARE cards and stickers over SPI. NXP's datasheet gives a typical read and write distance of up to 50 mm, depending on the antenna size and tuning. That is enough to read through track and a plate or two, but test your own stack with a tag before building the reader in.
- Mounting: the reader goes under the track at a station or junction, the tag goes on the underside of the train, as low as possible.
- Reading a moving train: keep the reader loop free of delays, use the largest tag that fits under the train, and place two tags in a row on long trains so one read is enough.
- Wiring: RC522 boards run at 3.3 V, so power them from the ESP32's 3.3 V pin. Use the ESP32's default SPI pins (SCK 18, MISO 19, MOSI 23) and any free pins for the reader's SDA and reset lines.
Parts: RC522 RFID modules on Amazon and ESP32 development boards on Amazon.
Trackside ESP32 code
It uses the MFRC522 Arduino library and PubSubClient. The tag ID is printed with leading zeros, so the same tag always gives the same string.
#include <SPI.h>
#include <MFRC522.h>
#include <WiFi.h>
#include <PubSubClient.h>

#define RST_PIN 22
#define SS_PIN  21

MFRC522 rfid(SS_PIN, RST_PIN);
WiFiClient espClient;
PubSubClient mqtt(espClient);

const char* LOCATION = "STATION_A";

void ensureMqtt() {
  while (!mqtt.connected()) {
    String clientId = String("track-") + LOCATION;
    if (!mqtt.connect(clientId.c_str(), "lego", "your-password")) {
      delay(1000);
    }
  }
}

void setup() {
  Serial.begin(115200);
  SPI.begin();
  rfid.PCD_Init();

  WiFi.begin("YourSSID", "YourPassword");
  while (WiFi.status() != WL_CONNECTED) delay(500);

  mqtt.setServer("192.168.1.100", 1883);
}

void loop() {
  ensureMqtt();
  mqtt.loop();

  if (rfid.PICC_IsNewCardPresent() && rfid.PICC_ReadCardSerial()) {
    char tag[21] = {0};
    for (byte i = 0; i < rfid.uid.size && i < 10; i++) {
      sprintf(tag + i * 2, "%02x", rfid.uid.uidByte[i]);
    }
    String topic = String("track/location/") + LOCATION;
    mqtt.publish(topic.c_str(), tag);
    rfid.PICC_HaltA();  // the same tag is not reported again until it leaves and returns
  }
}
MQTT topics
track/location/{location}  tag ID seen at a reader
train/{id}/location        a train's last known location
train/{id}/speed           a train's current speed
train/{id}/command         commands to one train: STOP or SPEED:n
system/emergency           any message stops every train
Message flow
- The reader at STATION_A sees tag a1b2c3d4 and publishes it to
track/location/STATION_A. - The control script looks the tag up, finds train 1, and publishes
train/1/location. - STATION_A is a stop, so the script publishes
STOPtotrain/1/command. - Train 1 brakes and publishes its new speed.
- After the dwell time the script publishes
SPEED:50and the train leaves.
The Mosquitto broker
Since Mosquitto 2.0, a broker with no listener configured only accepts connections from its own machine, and anonymous clients are refused. To accept the ESP32 boards on your network, add a listener and a password file:
sudo apt install mosquitto mosquitto-clients
sudo mosquitto_passwd -c /etc/mosquitto/passwd lego
Then create /etc/mosquitto/conf.d/lego.conf with:
listener 1883
allow_anonymous false
password_file /etc/mosquitto/passwd
Restart the broker and watch the train topics:
sudo systemctl restart mosquitto
mosquitto_sub -u lego -P your-password -t "train/#" -v
Train-side ESP32 code
It uses Legoino for the hub. Legoino's last release is 1.1.0 and it does not compile against NimBLE-Arduino 2.x; users in the project's issues report that the esp32 board package 2.0.17 with NimBLE-Arduino 1.4.3 works. The ESP32 runs Wi-Fi and Bluetooth at the same time, so one board handles both MQTT and the hub.
#include <WiFi.h>
#include <PubSubClient.h>
#include "Lpf2Hub.h"

Lpf2Hub trainHub;
WiFiClient espClient;
PubSubClient mqtt(espClient);

const char* TRAIN_ID = "1";
const byte MOTOR_PORT = (byte)PoweredUpHubPort::A;

void setSpeed(int speed) {
  if (trainHub.isConnected()) {
    trainHub.setBasicMotorSpeed(MOTOR_PORT, speed);  // -100..100, 0 brakes
  }
  String topic = String("train/") + TRAIN_ID + "/speed";
  mqtt.publish(topic.c_str(), String(speed).c_str());
}

void onMessage(char* topic, byte* payload, unsigned int length) {
  String message;
  for (unsigned int i = 0; i < length; i++) message += (char)payload[i];

  if (String(topic) == "system/emergency" || message == "STOP") {
    setSpeed(0);
  } else if (message.startsWith("SPEED:")) {
    setSpeed(message.substring(6).toInt());
  }
}

void ensureMqtt() {
  while (!mqtt.connected()) {
    String clientId = String("train-") + TRAIN_ID;
    if (mqtt.connect(clientId.c_str(), "lego", "your-password")) {
      mqtt.subscribe((String("train/") + TRAIN_ID + "/command").c_str());
      mqtt.subscribe("system/emergency");
    } else {
      delay(1000);
    }
  }
}

void setup() {
  Serial.begin(115200);
  WiFi.begin("YourSSID", "YourPassword");
  while (WiFi.status() != WL_CONNECTED) delay(500);

  mqtt.setServer("192.168.1.100", 1883);
  mqtt.setCallback(onMessage);
}

void loop() {
  ensureMqtt();
  mqtt.loop();

  if (!trainHub.isConnected() && !trainHub.isConnecting()) {
    trainHub.init();  // scan again after a drop
  }
  if (trainHub.isConnecting()) {
    trainHub.connectHub();
  }
}
The subscriptions are made after every successful connection, so a train that loses Wi-Fi rejoins its topics on its own. For more on Legoino itself, see ESP32 and LEGO Powered Up with Legoino.
The control script (Python)
It uses paho-mqtt 2.x, which needs the callback API version when the client is created. Departures run on a timer, so the script keeps receiving messages while a train waits at a station.
import threading
import paho.mqtt.client as mqtt

STOPS = {"STATION_A": 30, "STATION_B": 20}          # dwell time in seconds
TAG_TO_TRAIN = {"a1b2c3d4": "1", "e5f6a7b8": "2"}  # your tags here

def depart(client, train_id):
    client.publish(f"train/{train_id}/command", "SPEED:50")

def on_connect(client, userdata, flags, reason_code, properties):
    client.subscribe("track/location/#")

def on_message(client, userdata, msg):
    location = msg.topic.split("/")[-1]
    train_id = TAG_TO_TRAIN.get(msg.payload.decode().lower())
    if train_id is None:
        return
    client.publish(f"train/{train_id}/location", location)
    dwell = STOPS.get(location)
    if dwell:
        client.publish(f"train/{train_id}/command", "STOP")
        threading.Timer(dwell, depart, args=(client, train_id)).start()

client = mqtt.Client(mqtt.CallbackAPIVersion.VERSION2)
client.username_pw_set("lego", "your-password")
client.on_connect = on_connect
client.on_message = on_message
client.connect("localhost", 1883)
client.loop_forever()
Block signalling builds on the same idea: keep a record of which block each train is in, and hold a train with STOP until the block ahead is clear.
Home Assistant
Home Assistant's MQTT integration can show each train and send it commands. In configuration.yaml:
mqtt:
  sensor:
    - name: "Train 1 Location"
      state_topic: "train/1/location"
    - name: "Train 1 Speed"
      state_topic: "train/1/speed"
      unit_of_measurement: "%"
  button:
    - name: "Start Train 1"
      command_topic: "train/1/command"
      payload_press: "SPEED:50"
    - name: "Stop Train 1"
      command_topic: "train/1/command"
      payload_press: "STOP"
    - name: "Emergency Stop All"
      command_topic: "system/emergency"
      payload_press: "STOP"
Start the trains in the morning
- alias: "Start trains at 9"
  triggers:
    - trigger: time
      at: "09:00:00"
  actions:
    - action: mqtt.publish
      data:
        topic: "train/1/command"
        payload: "SPEED:40"
    - delay: "00:00:05"
    - action: mqtt.publish
      data:
        topic: "train/2/command"
        payload: "SPEED:40"
Older Home Assistant installs write trigger, platform and service instead of the plural keys and action. To control the layout by voice, expose scripts or buttons that publish these commands to Alexa or Google Assistant through Home Assistant. For a single train without RFID, LEGO Home Automation: ESPHome and Home Assistant is a simpler start.
Parts list
| Part | How many |
|---|---|
| ESP32 board | One per train and one per detection point |
| RC522 RFID reader | One per detection point |
| 13.56 MHz MIFARE tags or stickers | One or two per train |
| Raspberry Pi or other always-on computer | One, for the broker and the script |
| Small battery or USB power bank | One per train, for its ESP32 |
| LEGO Powered Up train | Each train brings its own hub |
Use Our Tools to Go Further
Get more insights about the sets mentioned in this article with our free LEGO tools