LEGO Home Automation: ESPHome and Home Assistant
Supporting Free Content
When you purchase through our links, we earn a small commission at no extra cost to you. As an eBay Partner, this helps us keep bringing you expert LEGO® reviews and guides. Thank you for your support!
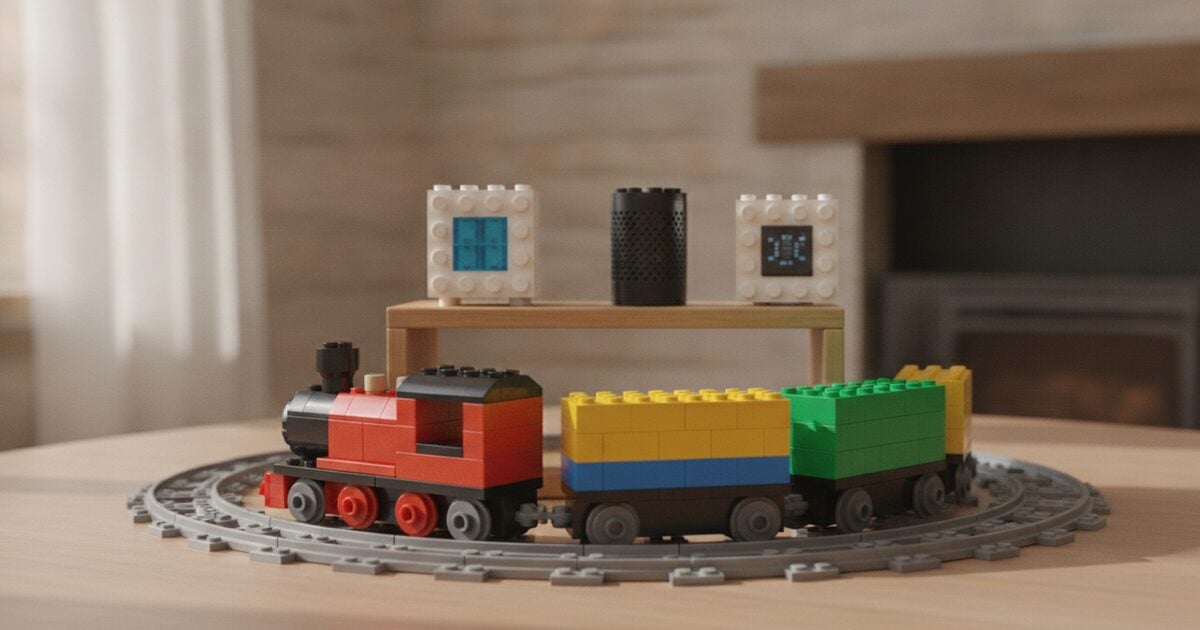
ESPHome has no LEGO component, but an ESP32 running ESPHome can still drive a LEGO Powered Up hub over Bluetooth by writing LEGO Wireless Protocol commands, and Home Assistant then treats the train as a fan you can schedule, automate and control by voice. This guide gives current, valid YAML for the hub, an LED strip for lighting a set, and the automations.
You can run a LEGO Powered Up train and light up a LEGO set from Home Assistant with an ESP32 running ESPHome. ESPHome has no LEGO component, so the train needs one honest workaround: the ESP32 sends the hub the same LEGO Wireless Protocol command the LEGO app sends, and Home Assistant shows the train as a fan with a speed slider. Lighting needs no workaround at all. This guide gives configuration that is valid for current ESPHome and Home Assistant.
How it works
LEGO Powered Up hub  <-- Bluetooth --  ESP32 running ESPHome
                                            |
                                          Wi-Fi
                                            |
                                     Home Assistant
                                 (dashboards, automations,
                                  Alexa, Google Assistant)
LEGO documents the protocol its Powered Up hubs use, the LEGO Wireless Protocol 3.0. Every message goes to one Bluetooth characteristic, and a motor is driven with a Port Output Command (message type 0x81) using the WriteDirectModeData sub-command (0x51). The power value runs from 1 to 100 for one direction and from -1 to -100 for the other, with 0 meaning float and 127 meaning brake. The open-source Legoino library sends exactly this message for its basic motor speed call, which is a useful cross-check.
What you need
- An ESP32 board with Bluetooth that ESPHome supports, such as an M5Stack Atom: ESP32 development boards on Amazon.
- A LEGO Powered Up hub. Current Powered Up train sets include one:
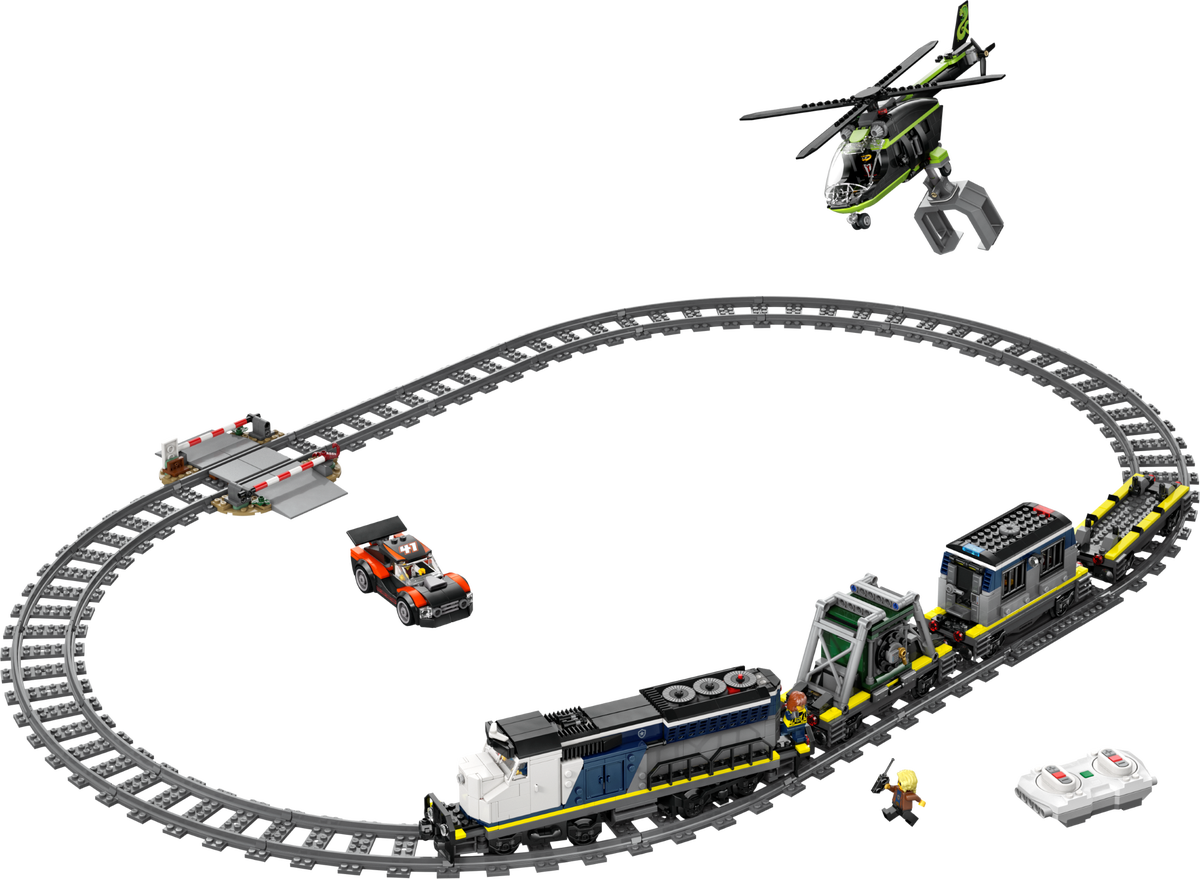
Police Train Heist, a Powered Up train set: the locomotive's hub is what the ESP32 connects to.
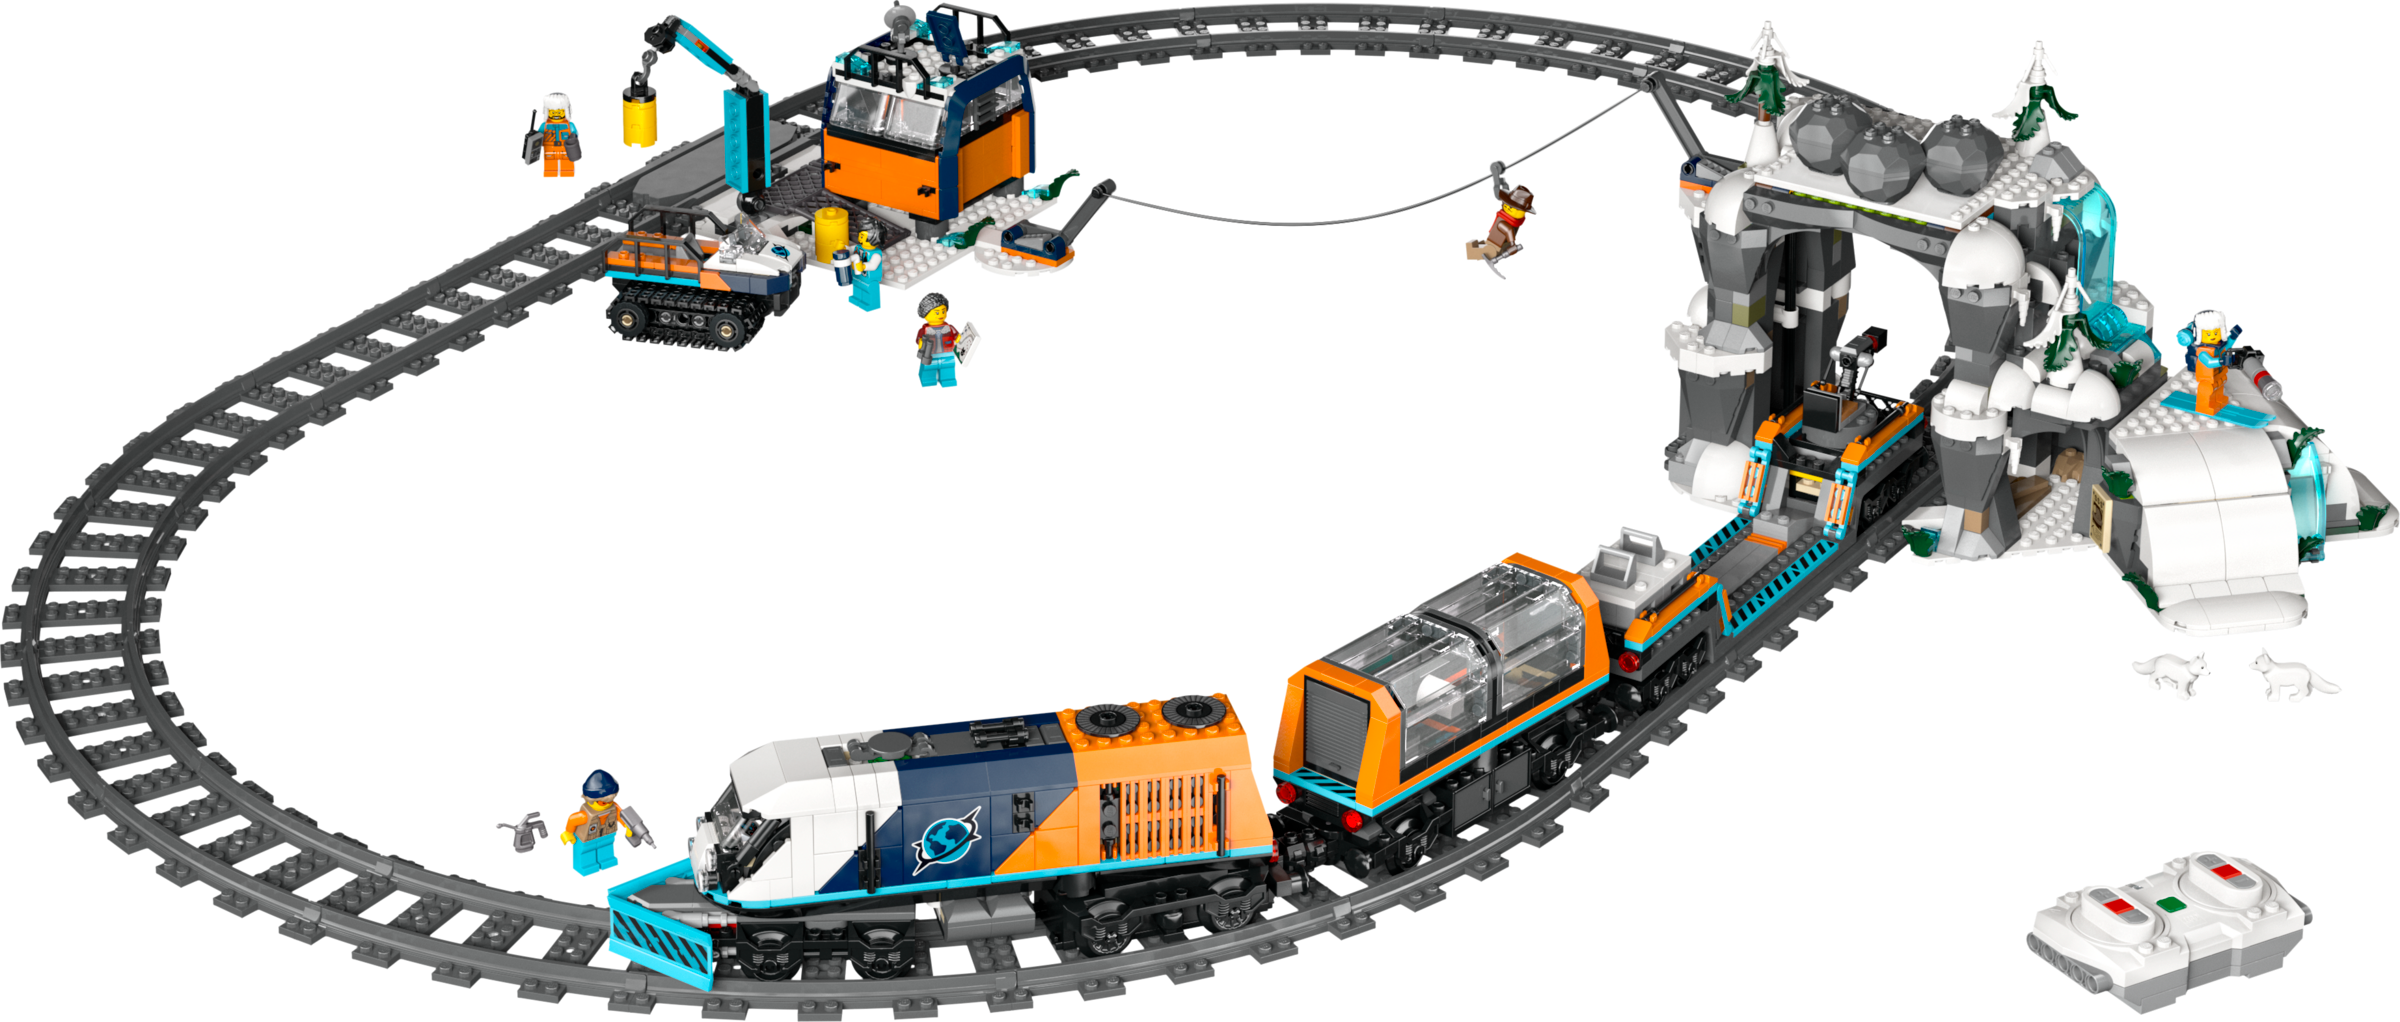
Explorers' Arctic Polar Express Train, a remote-controlled Powered Up locomotive with a snowplow.
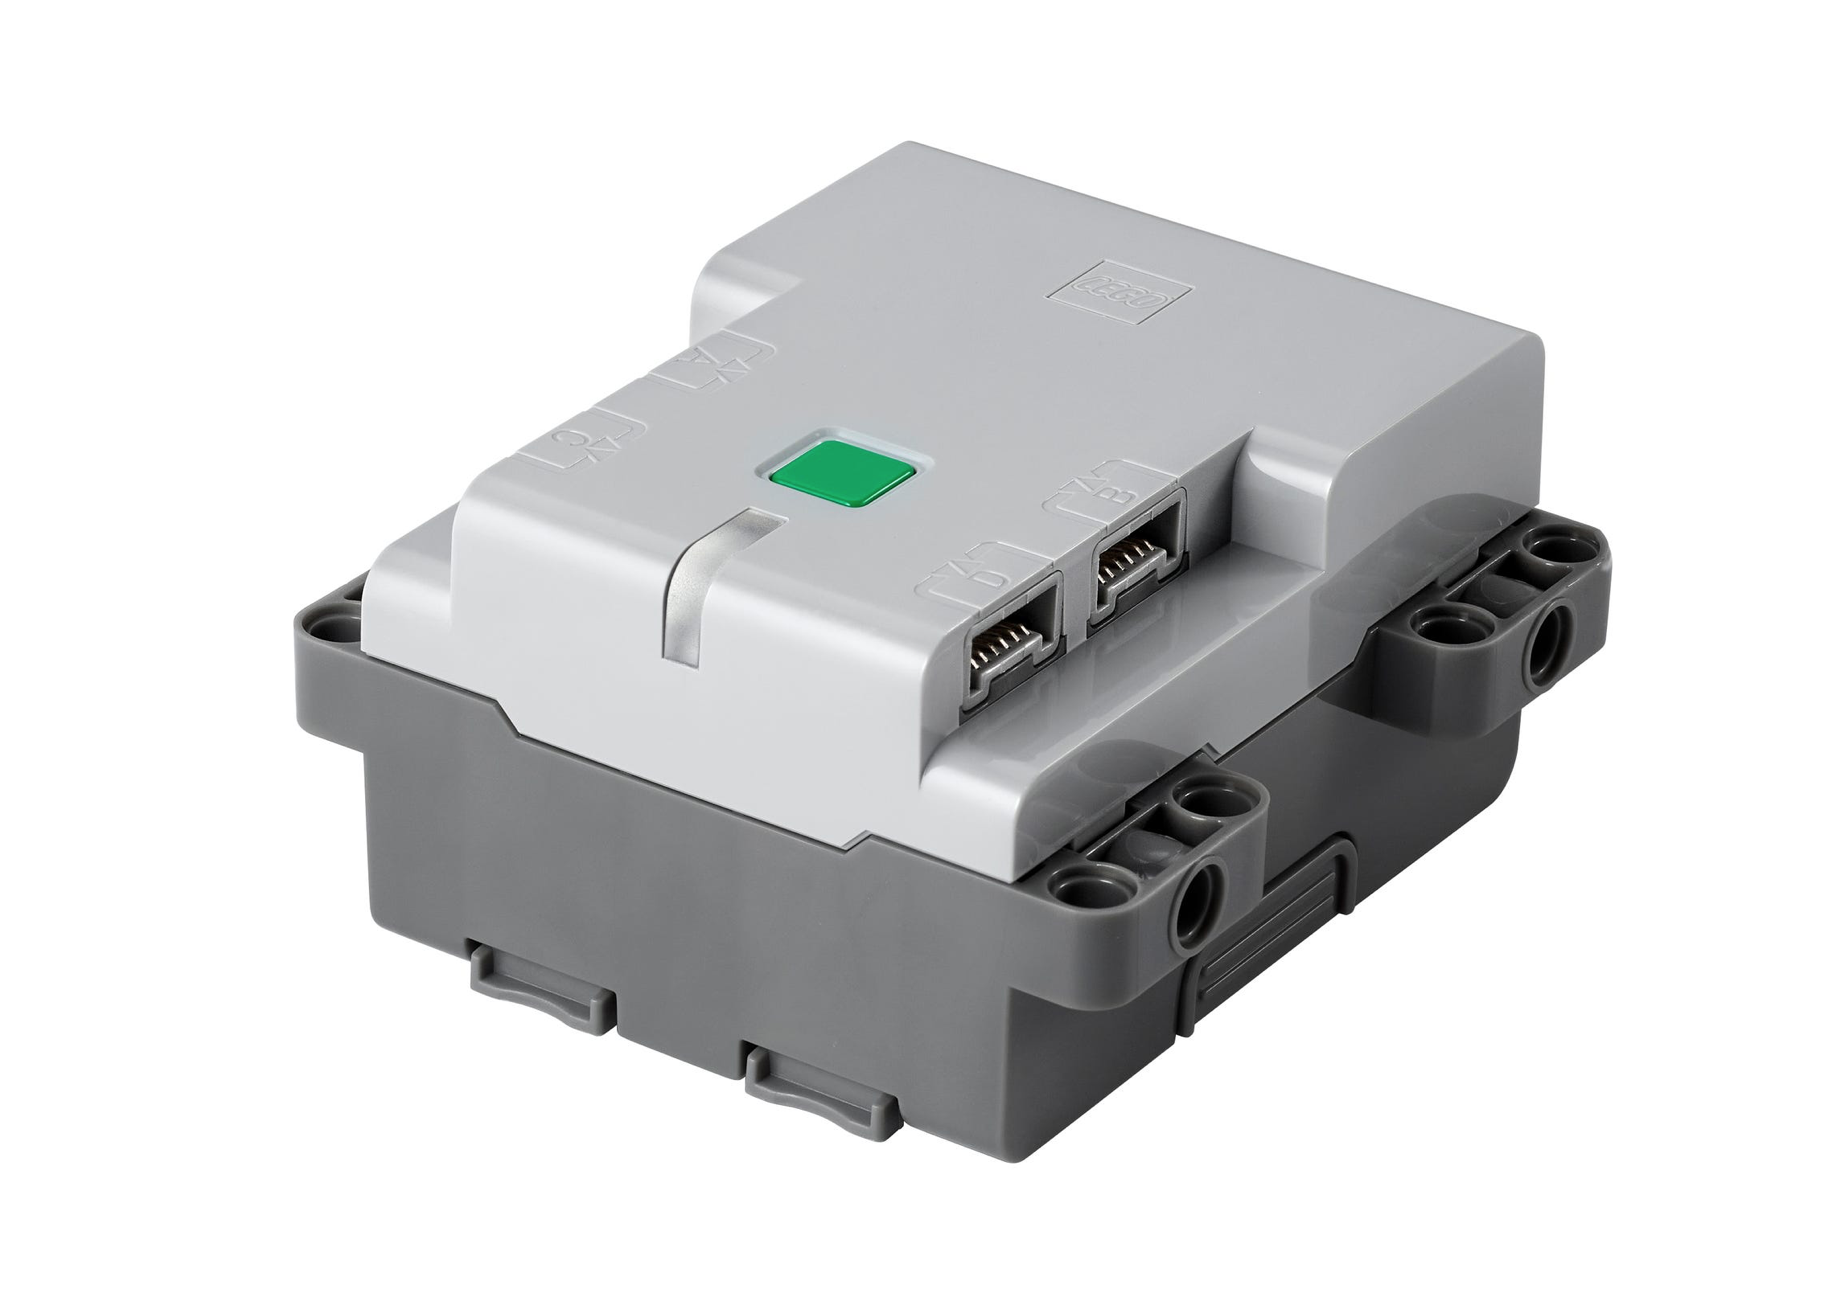
- For Technic builds, the Technic Hub has four ports instead of the train hub's two:
- Home Assistant with the ESPHome add-on or the ESPHome command-line tool.
- For lighting: a WS2812B addressable LED strip and a 5 V supply sized for it: WS2812B LED strips on Amazon.
ESPHome configuration for the train
Put your Wi-Fi details and keys in ESPHome's secrets.yaml rather than in the file. This configuration uses the current ESPHome layout: the board goes under esp32:, the API uses an encryption key, and OTA updates are a list of platforms.
esphome:
  name: lego-train

esp32:
  board: m5stack-atom
  framework:
    type: esp-idf

wifi:
  ssid: !secret wifi_ssid
  password: !secret wifi_password

api:
  encryption:
    key: !secret api_encryption_key

ota:
  - platform: esphome
    password: !secret ota_password

logger:

esp32_ble_tracker:

ble_client:
  - mac_address: "XX:XX:XX:XX:XX:XX"   # your hub's address
    id: lego_hub

output:
  - platform: template
    id: train_motor
    type: float
    write_action:
      - ble_client.ble_write:
          id: lego_hub
          service_uuid: 00001623-1212-EFDE-1623-785FEABCD123
          characteristic_uuid: 00001624-1212-EFDE-1623-785FEABCD123
          value: !lambda |-
            int8_t power = (int8_t) lroundf(state * 100.0f);
            return {0x08, 0x00, 0x81, 0x00, 0x11, 0x51, 0x00, (uint8_t) power};

fan:
  - platform: speed
    id: lego_train
    name: "LEGO Train"
    output: train_motor
    speed_count: 10
What the eight bytes mean: the message length (8), the hub ID (always 0), Port Output Command (0x81), the port (0x00 is port A), the startup and completion flags (0x11), WriteDirectModeData (0x51), mode 0, and the power. ESPHome's template output passes the fan's speed to the lambda as state, from 0.0 to 1.0, so a 40 percent fan setting sends power 40 and turning the fan off sends 0, which lets the train coast to a stop. For a motor on port B, change the fourth byte to 0x01. To run backwards, add a second output that sends a negative power, or give the fan a direction_output.
Finding your hub's address
Flash the configuration once with any placeholder address, open the ESPHome logs, switch the hub on and watch the Bluetooth tracker's output for the device that appears. Copy its address into mac_address and flash again. Close the LEGO app on every nearby phone first, so the hub is free to connect to the ESP32.
Lighting a LEGO set with an LED strip
Lighting needs no Bluetooth: an addressable LED strip on a GPIO pin becomes a Home Assistant light with colours, brightness and effects. Current ESPHome drives WS2812B strips on an ESP32 with the RMT LED strip platform:
light:
  - platform: esp32_rmt_led_strip
    chipset: ws2812
    channel_colors: GRB
    pin: GPIO26
    num_leds: 30
    name: "Set Lights"
Wire it the way Adafruit's NeoPixel best practices recommend: a 500 to 1000 µF capacitor across the strip's power terminals, a 300 to 500 ohm resistor in the data line, ground connected first and shared with the ESP32, and a logic level shifter such as a 74AHCT125 between the ESP32's 3.3 V data pin and a strip powered at 5 V. Run the strip from its own 5 V supply rather than from the board.
A display set with plenty of windows is the classic candidate:

Home Alone, the McCallister house from the film: rooms and windows that suit a strip of addressable LEDs.
Home Assistant
Once the ESP32 is online, Home Assistant discovers it through the ESPHome integration, and the train appears as fan.lego_train. A simple dashboard card:
type: entities
title: LEGO Train
entities:
  - entity: fan.lego_train
  - entity: light.set_lights
Automations
These use the automation syntax current Home Assistant documents (triggers, conditions and actions). Older installs use trigger, platform and service instead.
Run a display on a schedule
- alias: "LEGO display: start on weekdays at 9"
  triggers:
    - trigger: time
      at: "09:00:00"
  conditions:
    - condition: time
      weekday: [mon, tue, wed, thu, fri]
  actions:
    - action: fan.turn_on
      target:
        entity_id: fan.lego_train
      data:
        percentage: 40

- alias: "LEGO display: stop at 5"
  triggers:
    - trigger: time
      at: "17:00:00"
  actions:
    - action: fan.turn_off
      target:
        entity_id: fan.lego_train
Start the train when someone walks up
- alias: "LEGO display: motion start"
  triggers:
    - trigger: state
      entity_id: binary_sensor.display_motion
      to: "on"
  actions:
    - action: fan.turn_on
      target:
        entity_id: fan.lego_train
      data:
        percentage: 50
    - delay: "00:02:00"
    - action: fan.turn_off
      target:
        entity_id: fan.lego_train
A December holiday train
- alias: "Holiday train"
  triggers:
    - trigger: time_pattern
      hours: "/1"
  conditions:
    - condition: template
      value_template: "{{ now().month == 12 }}"
    - condition: time
      after: "08:00:00"
      before: "22:00:00"
  actions:
    - action: fan.turn_on
      target:
        entity_id: fan.lego_train
      data:
        percentage: 35
    - action: light.turn_on
      target:
        entity_id: light.set_lights
    - delay: "00:10:00"
    - action: fan.turn_off
      target:
        entity_id: fan.lego_train
Voice control
Expose fan.lego_train and light.set_lights to Alexa or Google Assistant through Home Assistant Cloud or the manual Alexa and Google integrations. On and off work everywhere; support for setting a fan's speed by voice depends on the assistant. On Apple devices, Home Assistant's HomeKit Bridge can expose the same entities to Siri.
Limits worth knowing
- Bluetooth range from the ESP32 to a moving train is short, so place the board near the track rather than across the room.
- The hub still runs on its own batteries; the ESP32 only replaces the remote.
- If the configuration does not connect, check the ESPHome logs for the Bluetooth client's state before changing the bytes.
Resources
- ESPHome Bluetooth client and ble_write
- ESPHome speed fan
- ESPHome ESP32 RMT LED strip
- LEGO Wireless Protocol 3.0
- Home Assistant automation YAML
For a bigger layout with several trains, RFID position tracking and MQTT, see Smart LEGO Train Network: ESP32, RFID and MQTT.
Use Our Tools to Go Further
Get more insights about the sets mentioned in this article with our free LEGO tools