
Photographing Your LEGO MOCs: Professional Tips and Tricks
Supporting Free Content
When you purchase through our links, we earn a small commission at no extra cost to you. As an eBay Partner, this helps us keep bringing you expert LEGO® reviews and guides. Thank you for your support!
How to photograph LEGO models well with a phone or a camera, soft light, a clean backdrop, steady support and a little editing, plus how to build a scene around a MOC with current LEGO sets.
You do not need expensive equipment to photograph LEGO models well. What matters most is soft light, a clean background and a camera that stays still. This guide covers each of those, how to frame a MOC so it reads at a glance, how to build a simple scene around it, and the few edits that make the biggest difference.
Equipment: start with what you have
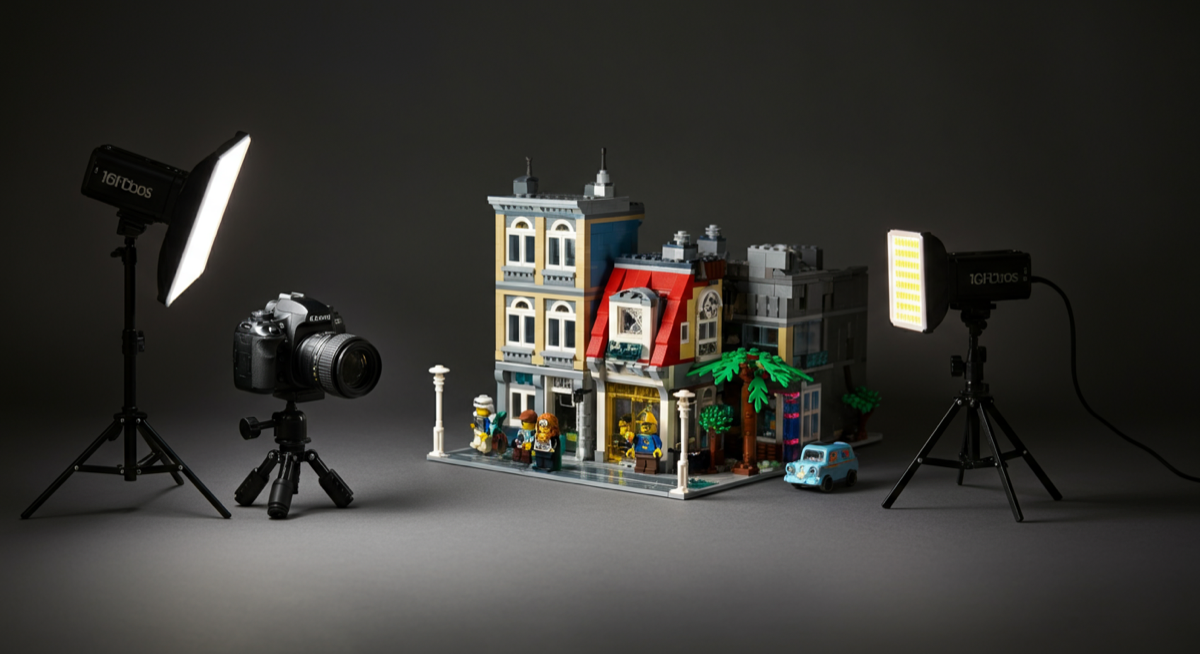
- Camera. A phone camera is fine for most LEGO photos. A camera with interchangeable lenses gives you more control, especially a macro lens for minifigure-scale details.
- Support. A small tripod removes camera shake, which matters most in dim light and close-ups. A stack of books works in a pinch. Use the self-timer so pressing the shutter does not shake the shot.
- Light. A window with indirect daylight, or LED panel lights with diffusers. A light box gives soft, even light for small models.
- Backdrop. Seamless paper, a sheet of poster board curved up behind the model, or a plain wall.
- Fill. A white card or foam board opposite the light bounces some of it back into the shadows.
Lighting LEGO
LEGO bricks are glossy, so hard light produces bright reflections and harsh shadows. Make the light source large and soft instead: shoot near a window on an overcast day, put a diffuser in front of an LED panel, or bounce the light off a white wall. A common starting point is one main light to the front and side of the model and a white card on the other side to lift the shadows. Move the light and watch the reflections slide across the model until they fall where they do not distract.
Mixing daylight with warm indoor bulbs gives uneven color. Use one kind of light at a time, and set white balance in the camera or fix it when editing.
Framing a MOC
- Shoot from the model's eye level. A camera at minifigure height makes a street or a vehicle look full size; a camera looking down makes everything look like a toy on a table.
- Fill the frame. Get close or crop until the model, not the table, is the subject.
- Mind the background edges. Check the corners of the frame for the edge of the backdrop, cables and other clutter before you shoot.
- Choose what is sharp. In close-ups only a thin slice of the model is in focus. Focus on the most important detail, use a smaller aperture if your camera allows it, or combine several shots with focus stacking.
Building a scene around a MOC
A MOC often looks better with context: a street behind a car, a backdrop behind a building. Current LEGO sets can supply that. Prices, piece counts and retirement status below come from our catalog when this page loads.
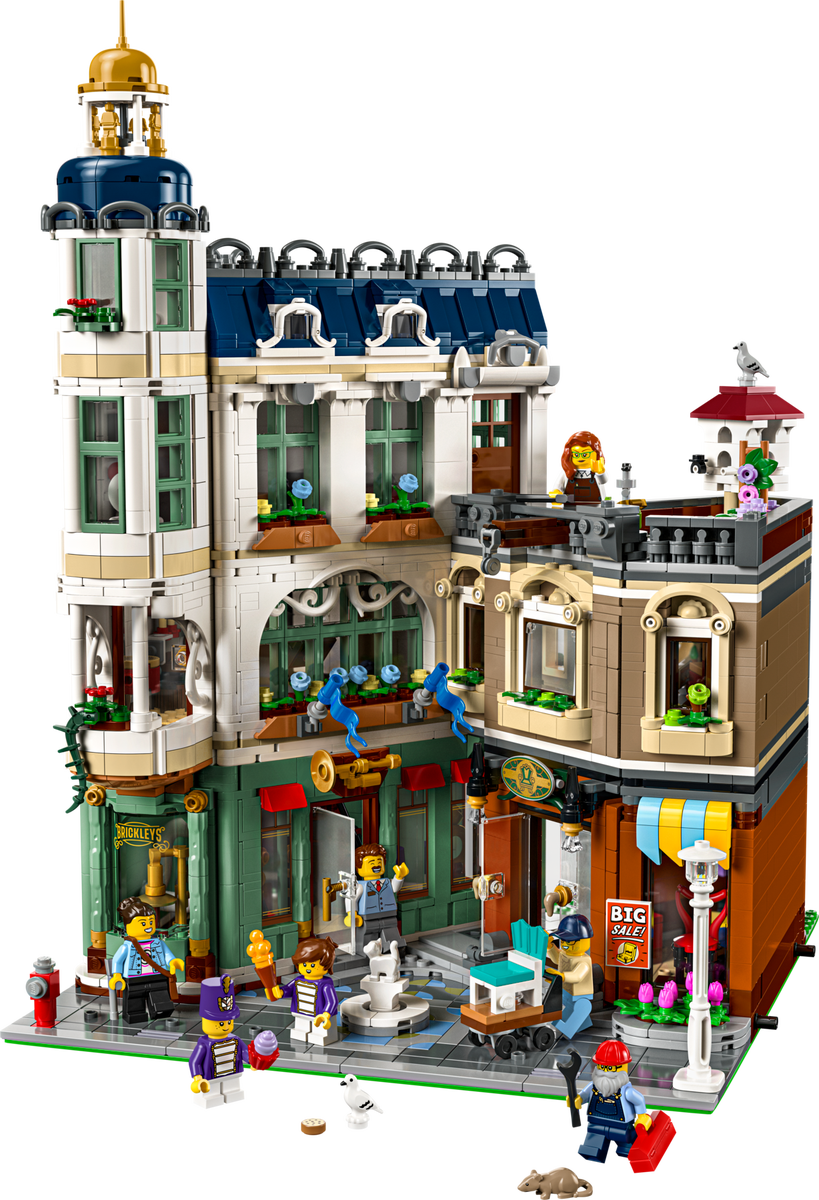
Shopping Street, the 2026 modular building. Two facades on one baseplate make a ready-made street backdrop for city MOCs and vehicles.
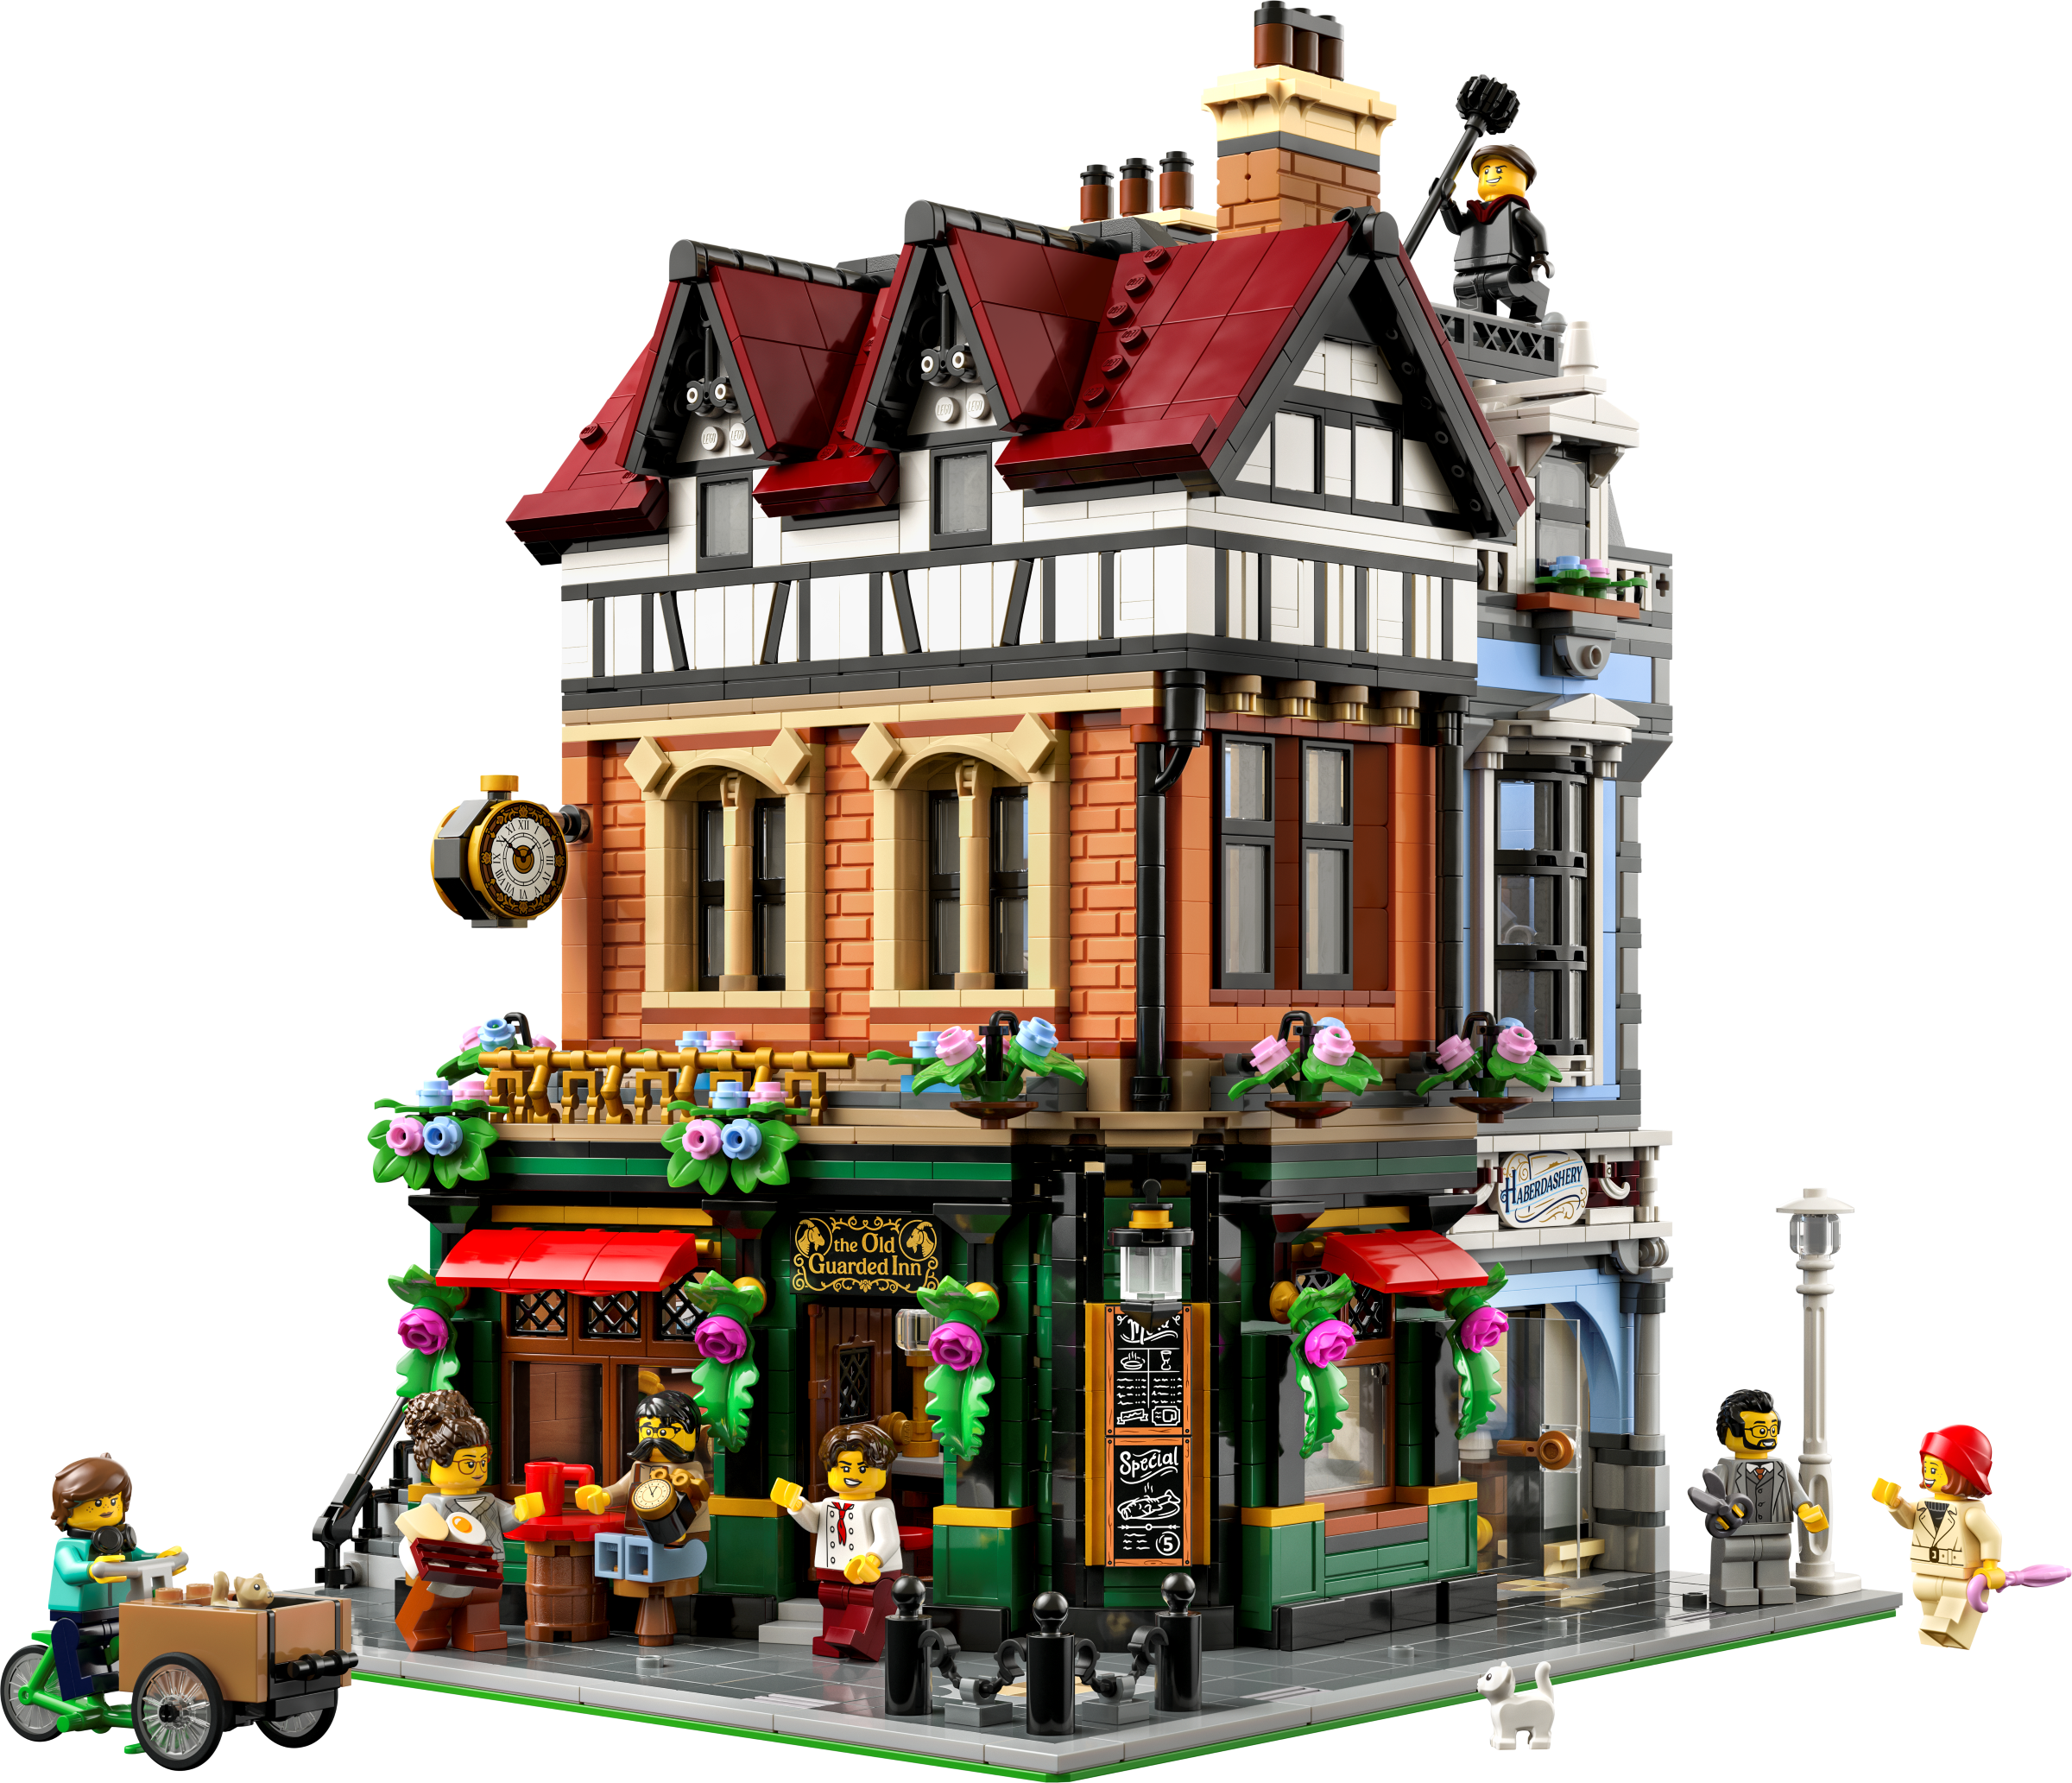
Tudor Corner, the 2025 modular. Its Tudor half-timbering and pub front suit older or European street scenes.
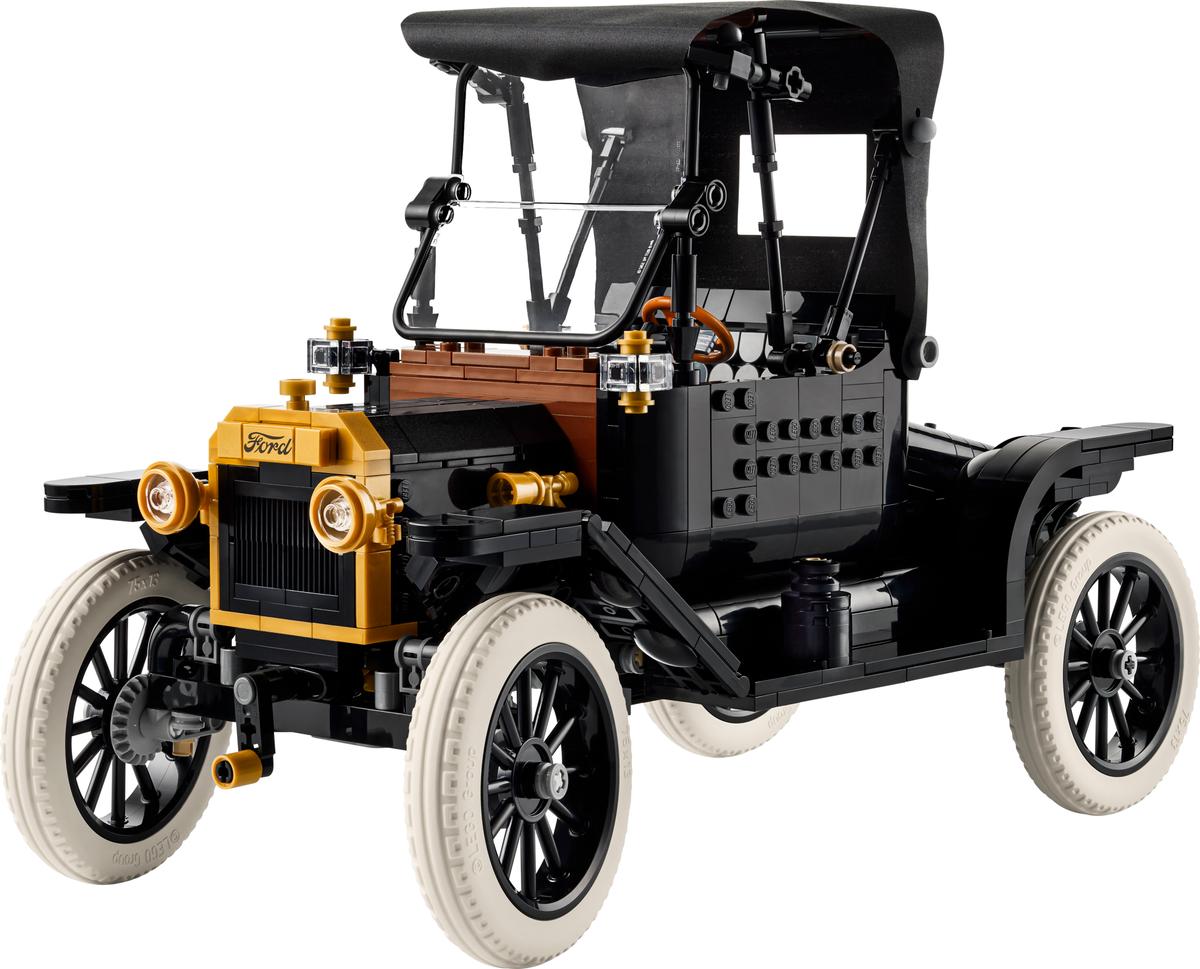
The Ford Model T, an 18+ display car that works as a period prop in front of a street backdrop.

The Large Creative Brick Box, a pile of basic bricks in many colors for building simple scenery, ground and backdrops.
Plain LEGO baseplates also make tidy ground for a scene. For bigger landscapes, our guide to forced perspective shows how to make a small scene look deep.
Dust and fingerprints
Close-up photos show every speck of dust and every fingerprint on glossy parts. Brush the model with a soft brush or use a hand air blower right before shooting, and handle finished models by their edges. Keeping models in a closed case between shoots saves most of this work; see our guide to protecting LEGO from dust.
Editing
- White balance so white bricks look white, not yellow or blue.
- Exposure and contrast so dark parts keep their detail.
- Crop and straighten to tighten the composition and level the horizon.
- Clean up stray dust and the edge of the backdrop with a healing or clone tool.
Keep edits light. The goal is a photo that looks like the model, not a different one. For images of models that do not exist yet, digital rendering is the alternative; see our guide to rendering photorealistic images of MOCs.
Sharing your photos
Once you have a few good shots, our guide to LEGO photography on Instagram covers how to present them, and our guide to displaying a LEGO collection helps with the shelf the models end up on.
Use Our Tools to Go Further
Get more insights about the sets mentioned in this article with our free LEGO tools