
How to Plan Your First LEGO MOC: From Concept to Creation
Supporting Free Content
When you purchase through our links, we earn a small commission at no extra cost to you. As an eBay Partner, this helps us keep bringing you expert LEGO® reviews and guides. Thank you for your support!
A step-by-step plan for your first LEGO MOC, from choosing a small subject and a scale to designing it in BrickLink Studio, checking the parts list, buying only what you lack and rebuilding until it holds together.
Your first LEGO MOC, a model you design yourself, goes best when the plan is small and specific: one subject, one scale, a parts list you have checked, and room to rebuild. Here is the process in five steps, with the tools that help at each one.
Step 1: Pick a subject you can finish
Choose something you can picture from every side and finish in a few sessions: a café counter, a market stall, a small car, a single building front. Collect reference photos of the real thing or of the style you want. A clear, small subject teaches the basics, connections, proportion and stability, faster than a large one that stalls halfway.
Step 2: Choose a scale
Scale decides everything else. Minifigure scale makes a model sit alongside official LEGO sets and lets figures use it; micro scale fits a landmark or a whole street on a shelf; larger display scales suit a single object. Our scaling guide shows how to convert real measurements into studs and plates.
Step 3: Design it
There are three ways to design, and you can mix them:
- Build directly from your own bricks. The quickest way to test a shape. Build a rough version in any colors, then refine it.
- Sketch on grid paper. Draw the footprint in studs, mark windows, doors and openings, and note the height in bricks or plates.
- Design digitally in BrickLink Studio. Free, and LEGO's official digital building app since it replaced LEGO Digital Designer in January 2022. It lets you test parts and colors you do not own and produces a parts list. Our BrickLink Studio tutorial covers the basics.
If your design ends up as an LDraw file, our free LDraw Model Checker lists its parts with catalog links and shows which bricks connect, and the LDraw 3D Viewer lets you turn it around and step through the build in a browser.
Step 4: Check the parts before you buy
Compare the parts list with what you already own before ordering anything. Swap colors or parts where the design allows; a part that is hard to find in one color may exist in another that works just as well. Our guide to part substitutes covers common swaps. For what you lack, LEGO's Pick a Brick sells individual elements, and the BrickLink marketplace, owned by the LEGO Group since 2019, lists parts from sellers worldwide. Our parts sourcing guide compares them.
If you are starting from a small collection, a Classic box gives you a stock of basic bricks in many colors to prototype with. Prices and piece counts below come from our catalog when this page loads.

Large Creative Brick Box: classic bricks in 33 colors with windows and doors, a practical base for prototyping buildings.
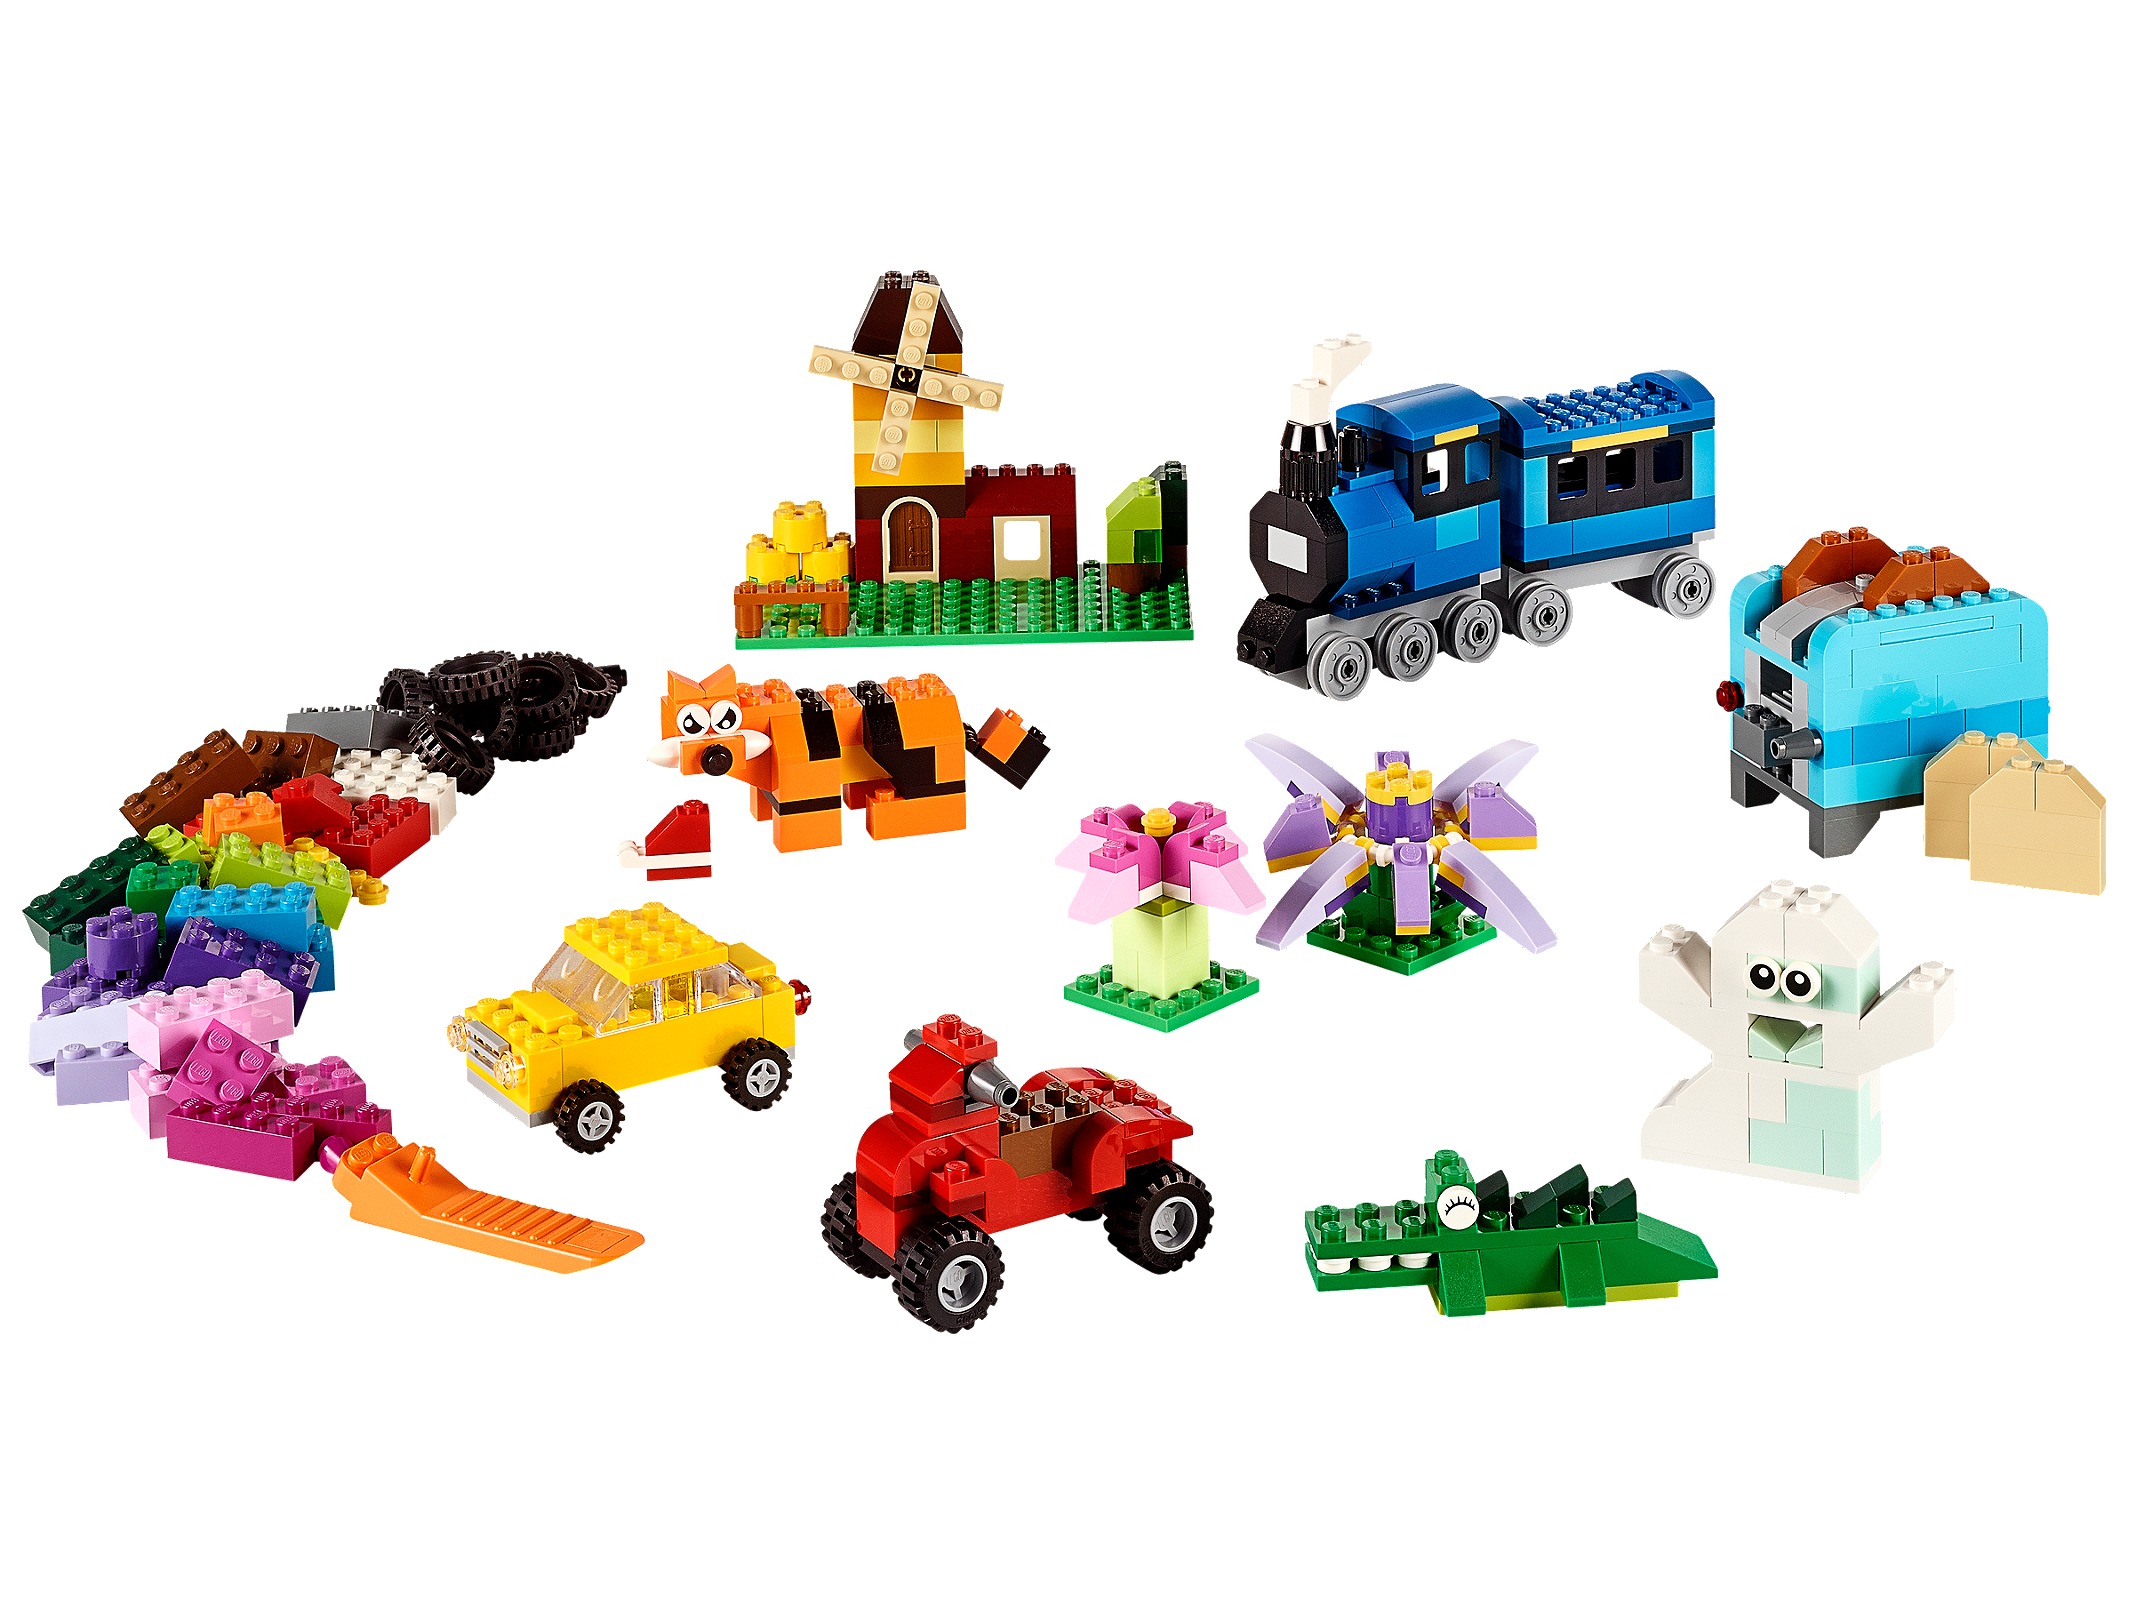
Medium Creative Brick Box: bricks in 35 colors with windows and plenty of wheels, a smaller box suited to prototyping vehicles.
Step 5: Build, test and rebuild
Expect to rebuild. Pick the model up, turn it over and press on the walls: anything that flexes or comes apart needs overlapped joints or a stronger base. Our structural engineering guide covers the usual fixes. When it holds together, refine the details, photograph it in good light and share it with other builders for feedback.
Related guides
- Creating LEGO MOC Buildings
- Building LEGO MOC Vehicles
- LEGO MOC Color Theory
- How to Sort and Organize Your LEGO Bricks
Updated October 2026. This guide is research based, drawing on LEGO's published tools and policies and established building references.
Use Our Tools to Go Further
Get more insights about the sets mentioned in this article with our free LEGO tools