

GBC Watchdog: Jam Protection for Great Ball Contraptions

Supporting Free Content
When you purchase through our links, we earn a small commission at no extra cost to you. As an eBay Partner, this helps us keep bringing you expert LEGO® reviews and guides. Thank you for your support!
A jammed Great Ball Contraption module keeps its motor stalled, drawing current and making heat. Three layers stop that, from simplest to most capable, a slip clutch in the drive, an Arduino watchdog that cuts power when current is high and the shaft has stopped, and, for Powered Up motors, a Pybricks program that checks for a stall.
A Great Ball Contraption runs for hours, and a single stuck ball can leave a motor stalled, drawing current and heating up while nobody is watching. The fix is protection in layers: a slip clutch so the drive gives way instead of forcing the jam, an electronic watchdog that switches the motor off when it stops turning under load, and for Powered Up motors, a stall check in Pybricks.
stalled() returns true.Layer 1: a slip clutch in the drive
The simplest protection is mechanical. A Technic 24-tooth clutch gear in the drive train slips when the load gets too high, so a jammed lift or wheel stops being forced while the motor keeps turning. It costs nothing in electronics, but the module still stops moving balls, so pair it with one of the layers below to notice the jam and switch the motor off.
Layer 2: an Arduino watchdog
One sensor is not enough. High current alone can mean a heavy but moving load, and no rotation alone can mean the motor was switched off on purpose. Together they are a reliable sign of a jam:
| Sensor | Measures | Jam sign |
|---|---|---|
| Hall sensor and a magnet on the shaft | Rotation | No pulses |
| INA219 current sensor | Motor current | Above your threshold |
Two details matter in practice. A motor draws a surge of current as it starts, while it is not yet turning, so the watchdog ignores the first two seconds after power is switched on. And the jam condition has to hold for several checks in a row before the power is cut, so one odd reading does not stop the show.
Parts
- An Arduino Nano or Uno: Arduino Nano boards on Amazon.
- An INA219 current sensor breakout. Adafruit's version measures up to 26 V and plus or minus 3.2 A at 0.8 mA resolution by default, or 400 mA at 0.1 mA resolution: INA219 current sensors on Amazon.
- A unipolar Hall switch of the A3144 type and a small magnet on the shaft or a gear: Hall effect sensor modules on Amazon.
- A relay module to switch the motor, a piezo buzzer, an LED, and a push button to reset after a jam.
Which motors it suits
Any motor whose current you can route through the sensor: a 9 V DC motor, or a Power Functions motor fed through a spliced extension cable. Put the INA219's shunt and the relay contact in series with one of the two wires that carry the motor's current. Powered Up motors are driven by their hub and are better protected with Pybricks, below.
Wiring
Motor supply +  ->  INA219 VIN+
INA219 VIN-     ->  relay COM
relay contact   ->  motor
motor           ->  motor supply -

INA219 SDA, SCL  ->  Nano A4, A5
INA219 VCC, GND  ->  Nano 5V, GND
Hall sensor OUT  ->  Nano D2 (interrupt pin)
Reset button     ->  Nano D3 to GND
Relay IN         ->  Nano D7
Buzzer           ->  Nano D8
LED (with resistor) -> Nano D9

All grounds connected together.
The INA219 sits on the high side: current flows in at VIN+ and out at VIN-, through the shunt, before it reaches the relay and the motor. Use the relay's normally open contact if you want the motor off whenever the watchdog is unpowered, or normally closed if the module must keep running without it.
Arduino code
It uses Adafruit's INA219 library. Many relay modules switch on when their input is low; if yours switches on when it is high, swap the two relay constants.
#include <Wire.h>
#include <Adafruit_INA219.h>

#define HALL_PIN   2   // interrupt-capable on the Nano
#define RESET_PIN  3   // push button to ground
#define RELAY_PIN  7
#define BUZZER_PIN 8
#define LED_PIN    9

#define RELAY_ON  LOW   // swap these two if your relay module is active-high
#define RELAY_OFF HIGH

const float CURRENT_LIMIT_MA = 800;           // set from your own measurements
const float MIN_RPM = 10;
const unsigned long CHECK_INTERVAL_MS = 500;
const unsigned long STARTUP_GRACE_MS = 2000;  // ignore the start-up surge
const byte CHECKS_TO_CONFIRM = 3;             // a jam must last this many checks

Adafruit_INA219 ina219;

volatile unsigned long pulseCount = 0;
unsigned long lastPulseCount = 0;
unsigned long lastCheckTime = 0;
unsigned long motorStartTime = 0;
byte suspectChecks = 0;
bool jamDetected = false;

void hallPulseISR() { pulseCount++; }

void enableMotor() {
  jamDetected = false;
  suspectChecks = 0;
  motorStartTime = millis();
  digitalWrite(RELAY_PIN, RELAY_ON);
  digitalWrite(LED_PIN, LOW);
}

void cutMotor() {
  jamDetected = true;
  digitalWrite(RELAY_PIN, RELAY_OFF);
  tone(BUZZER_PIN, 2000, 1000);
  Serial.println("Jam detected: motor power cut. Press reset to restart.");
}

void setup() {
  Serial.begin(115200);
  pinMode(HALL_PIN, INPUT_PULLUP);
  pinMode(RESET_PIN, INPUT_PULLUP);
  pinMode(RELAY_PIN, OUTPUT);
  pinMode(BUZZER_PIN, OUTPUT);
  pinMode(LED_PIN, OUTPUT);

  if (!ina219.begin()) {
    Serial.println("INA219 not found");
    while (true) {}
  }
  attachInterrupt(digitalPinToInterrupt(HALL_PIN), hallPulseISR, FALLING);
  enableMotor();
}

void loop() {
  unsigned long now = millis();

  if (jamDetected) {
    digitalWrite(LED_PIN, (now / 250) % 2);  // blink while jammed
    if (digitalRead(RESET_PIN) == LOW) enableMotor();
    return;
  }

  if (now - lastCheckTime < CHECK_INTERVAL_MS) return;
  lastCheckTime = now;

  noInterrupts();
  unsigned long pulses = pulseCount - lastPulseCount;
  lastPulseCount = pulseCount;
  interrupts();

  float rpm = pulses * 60000.0 / CHECK_INTERVAL_MS;
  float current_mA = ina219.getCurrent_mA();

  Serial.print(current_mA);
  Serial.print(" mA, ");
  Serial.print(rpm);
  Serial.println(" rpm");

  if (now - motorStartTime < STARTUP_GRACE_MS) return;

  if (current_mA > CURRENT_LIMIT_MA && rpm < MIN_RPM) {
    if (++suspectChecks >= CHECKS_TO_CONFIRM) cutMotor();
  } else {
    suspectChecks = 0;
  }
}
The pulse count is read with interrupts paused because an Arduino Nano reads a four-byte number in several steps, and an interrupt in the middle would corrupt it. With one magnet, each pulse is one turn of whatever the magnet is on.
Tuning
- Run the module normally and note the current in the serial monitor.
- Hold the drive still for a moment and note the stall current.
- Set
CURRENT_LIMIT_MAbetween the two. - If slow-moving parts trigger false alarms, lower
MIN_RPMor raiseCHECKS_TO_CONFIRM; if a slow jam is missed, do the opposite.
Several motors
// One INA219 per motor, addresses set with the board's solder jumpers
Adafruit_INA219 inaLift(0x40);
Adafruit_INA219 inaWheel(0x41);
Adafruit_INA219 inaConveyor(0x44);
Each board needs begin() in setup(), and each motor its own Hall sensor and relay. Four addresses are available: 0x40, 0x41, 0x44 and 0x45.
Layer 3: Powered Up motors with Pybricks
A Powered Up motor gets its power from the hub, so there is no wire to splice. Pybricks, open-source firmware for LEGO hubs, gives every motor a stalled() check, which is true when the motor cannot reach its target speed even at full power. A watchdog is a few lines:
from pybricks.pupdevices import Motor
from pybricks.parameters import Port
from pybricks.tools import wait

lift = Motor(Port.A)
lift.run(500)  # degrees per second

while True:
    if lift.stalled():
        lift.stop()
        print("Jam detected: lift stopped")
        break
    wait(100)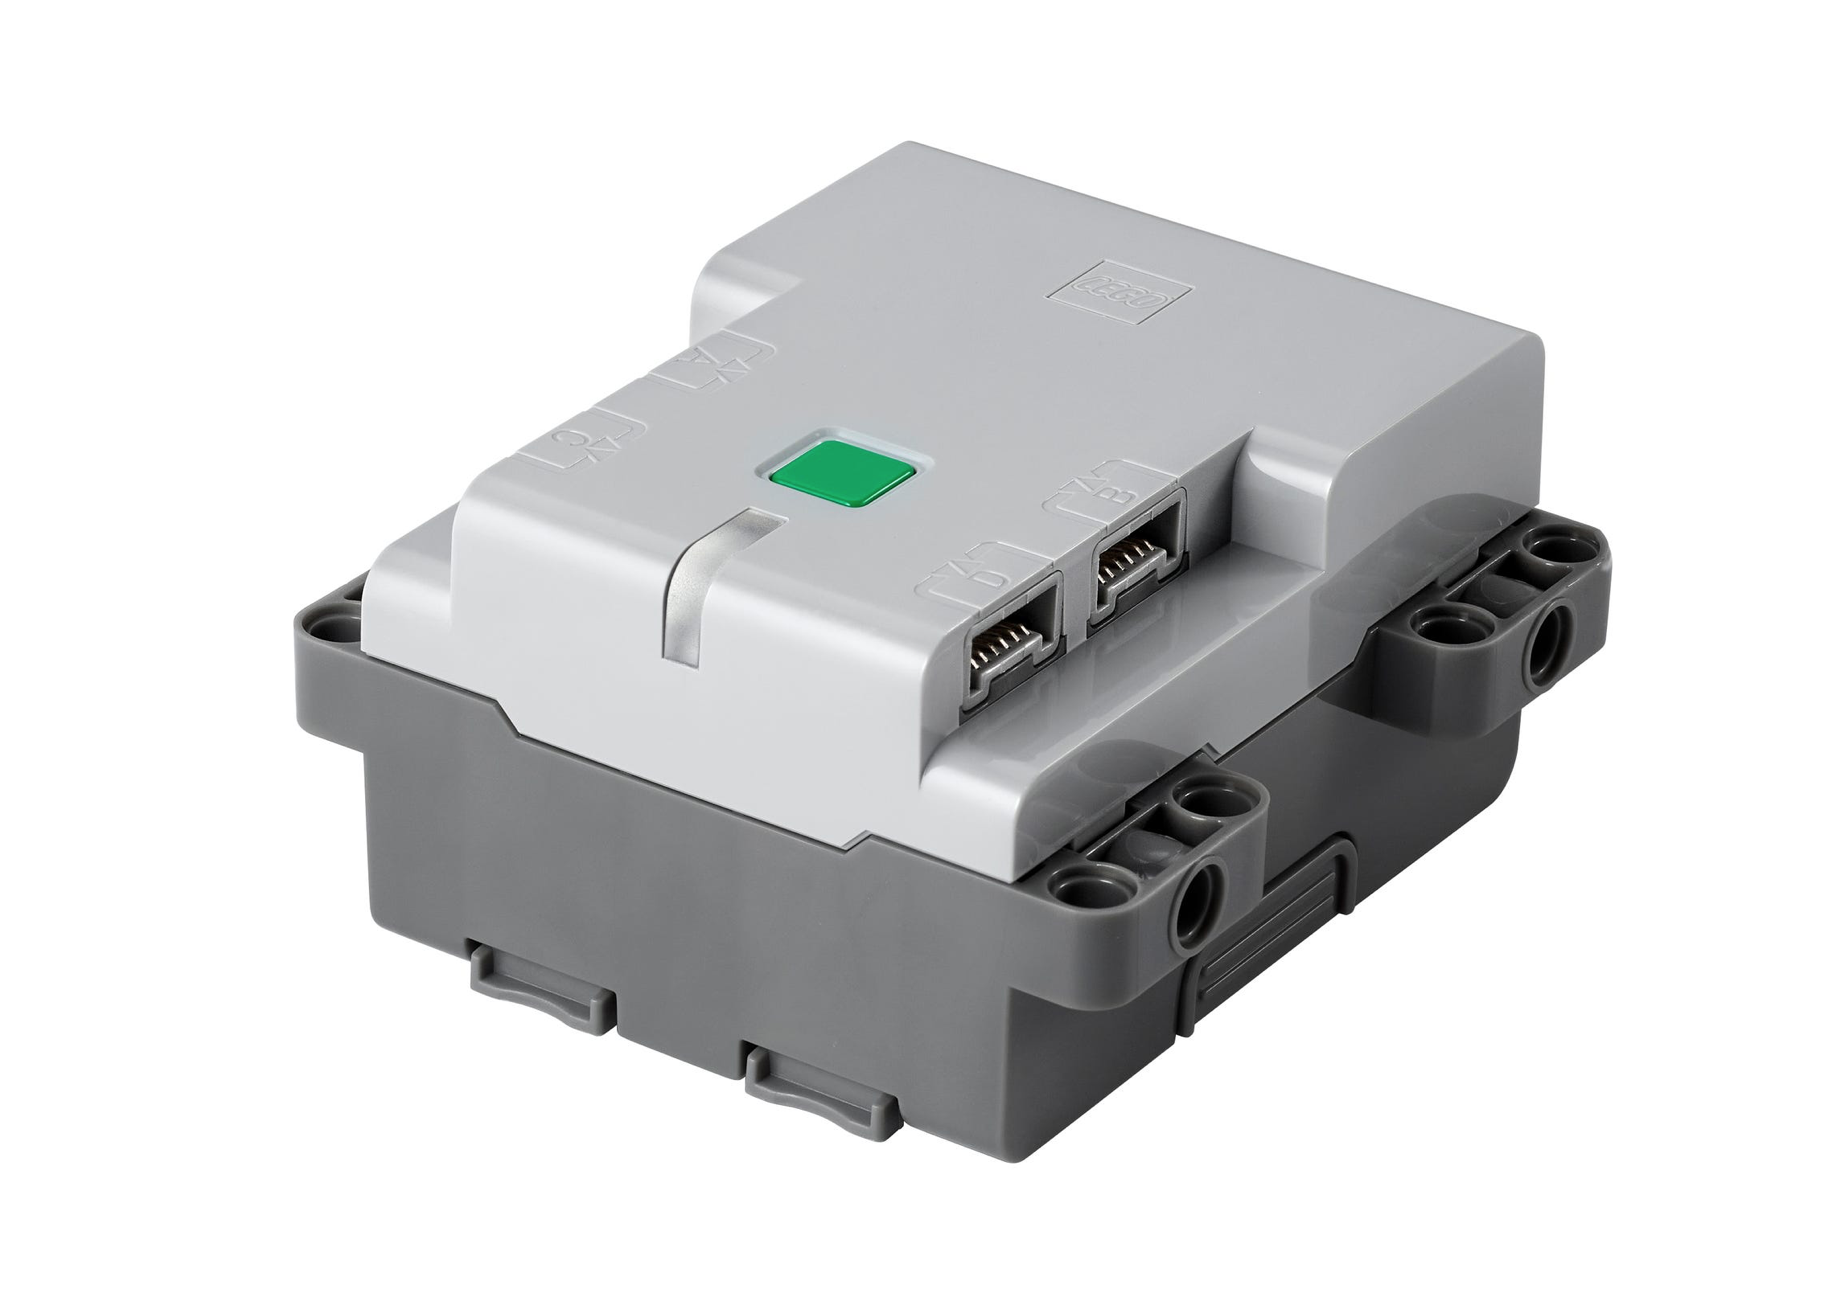
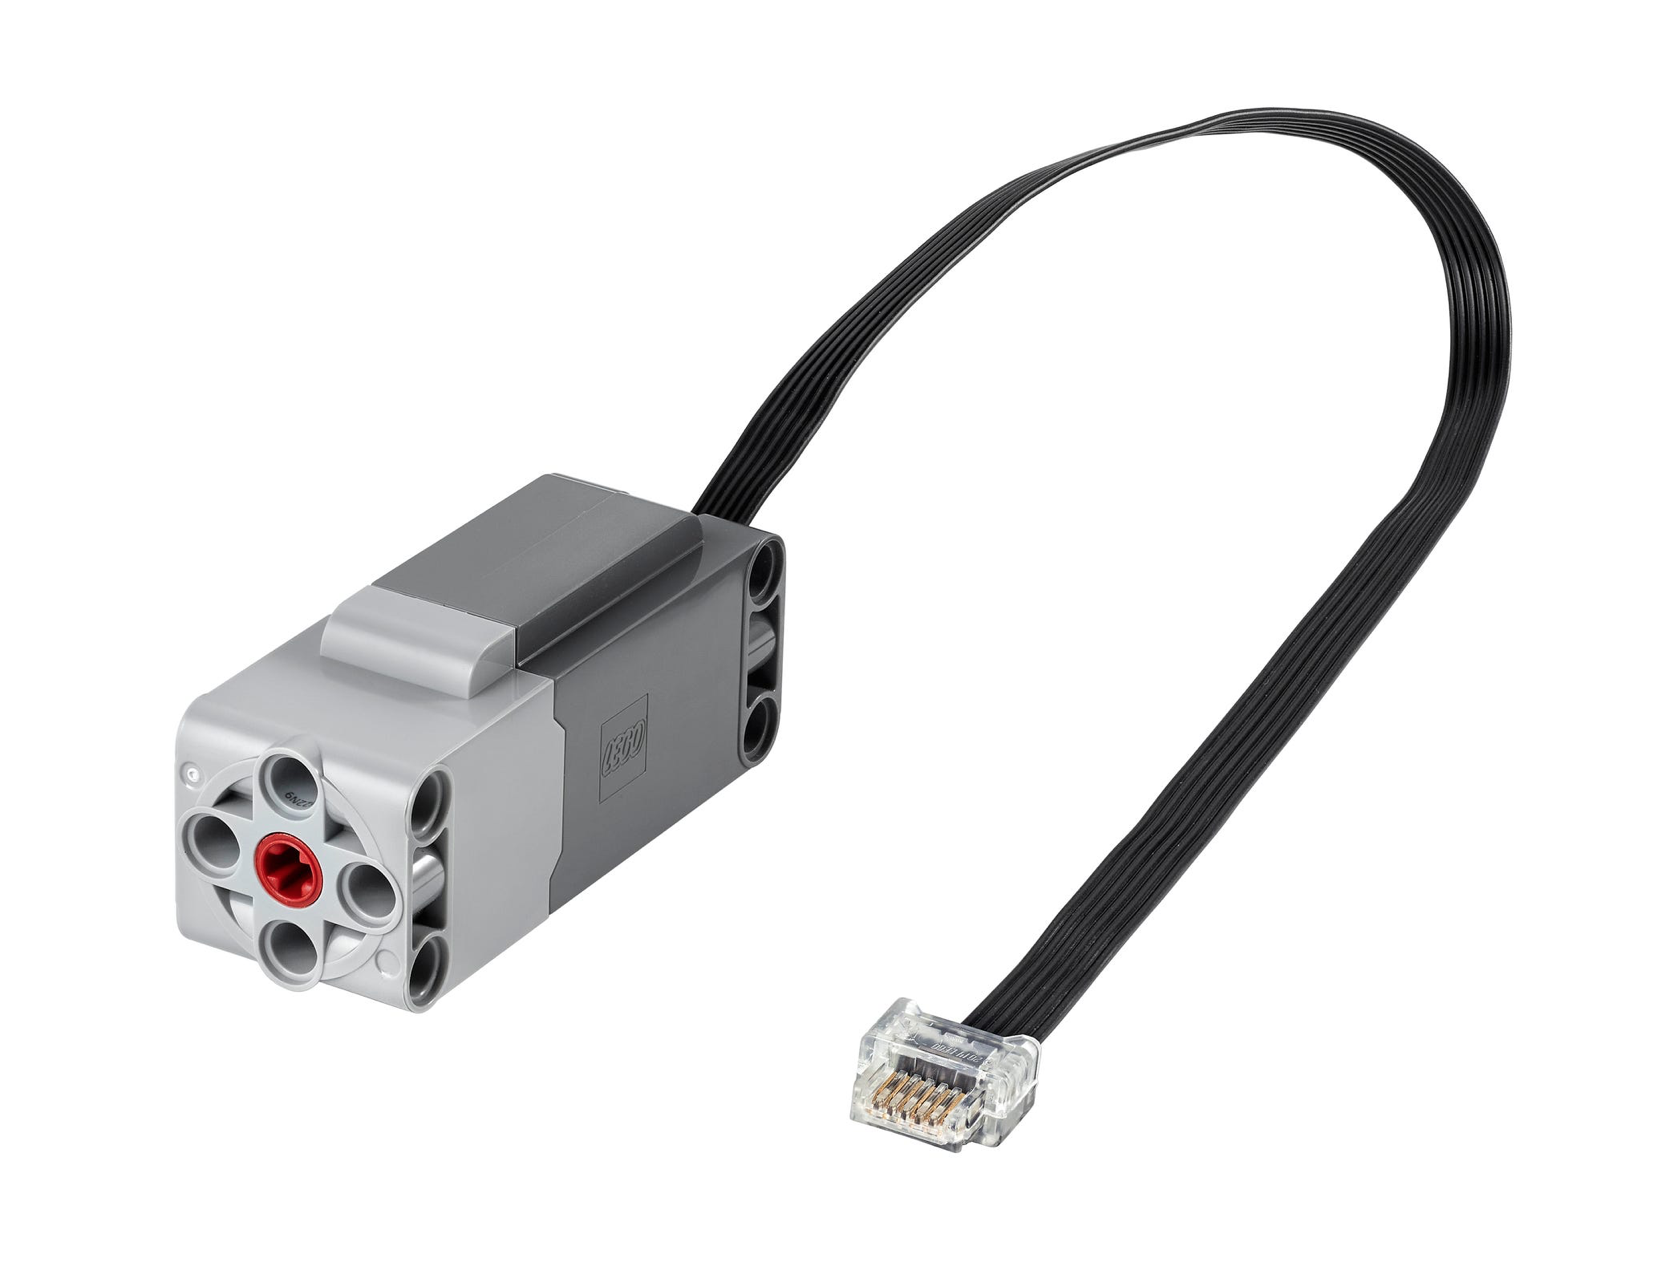
Powered Up Technic Large Motor, a motor with built-in rotation sensing that Pybricks can check for a stall.
Resources
Use Our Tools to Go Further
Get more insights about the sets mentioned in this article with our free LEGO tools